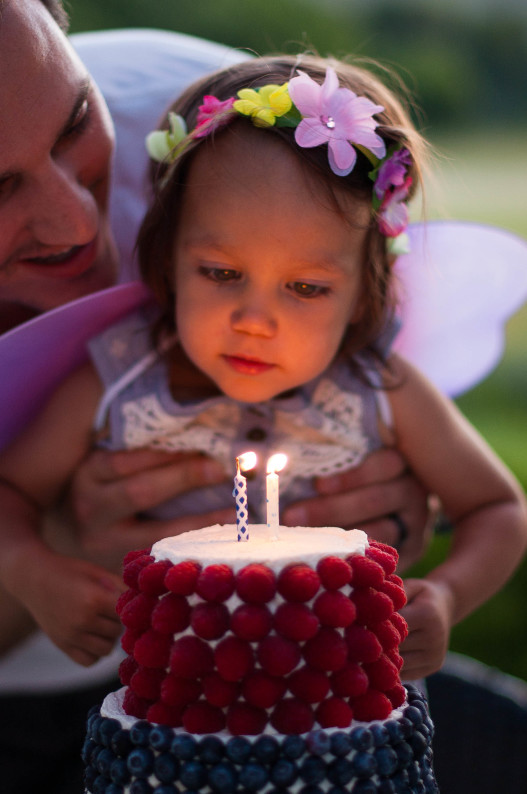
Last week my youngest turned two years old.
With most of my kids birthdays, I end up making the cake I want, usually something covered in fondant, or, if I’m too tired, buttercream. Admittedly, her last birthday cake was much fancier, but for this lady’s birthday, though, I wanted to make her her dream cake. Even though she’s tiny, it wasn’t to hard to figure out what that would be. And if you frequent this blog it may be glaringly obvious:
A
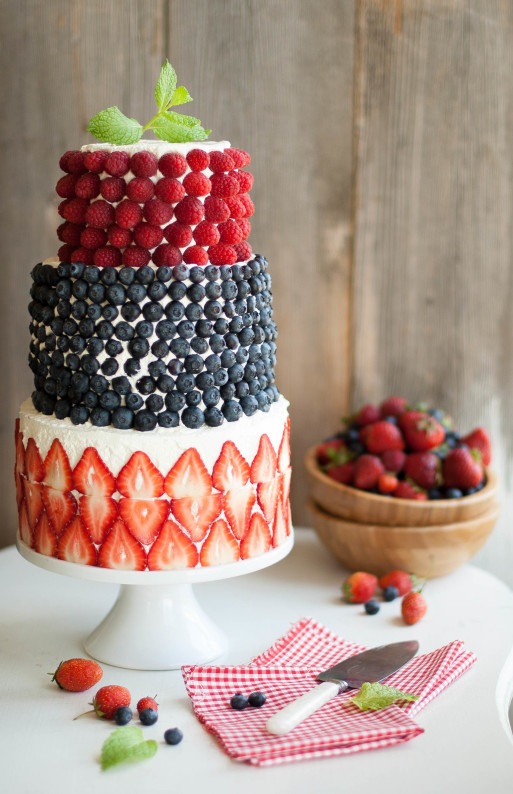
VERY BERRY COVERED BIRTHDAY CAKE
After many hard lessons learned over the course of the last year involving berry theft and epic tantrums, I waited to decorate the cake with berries until a certain someone went down for her afternoon nap.
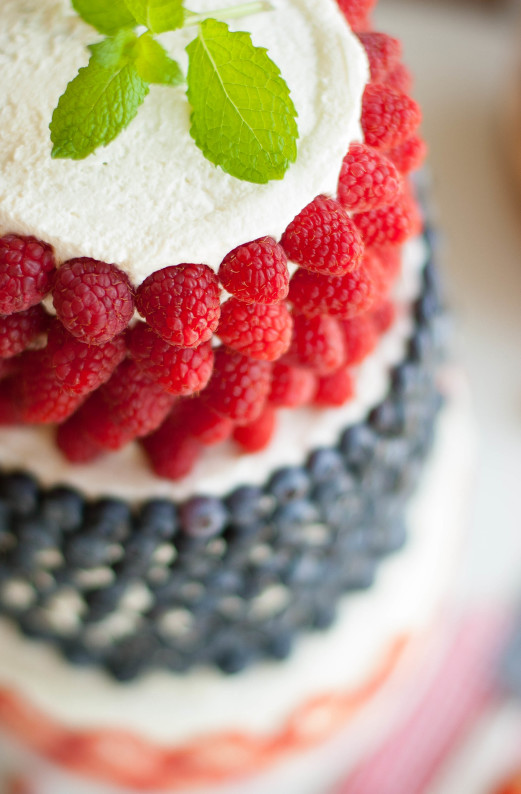
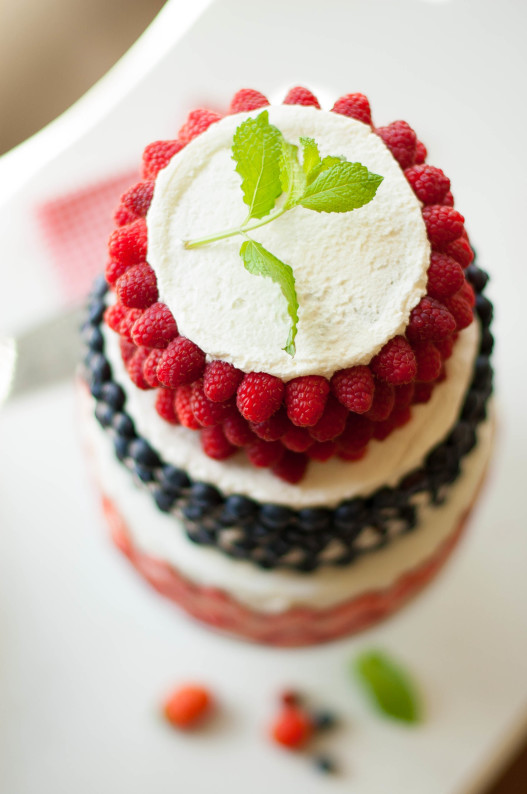
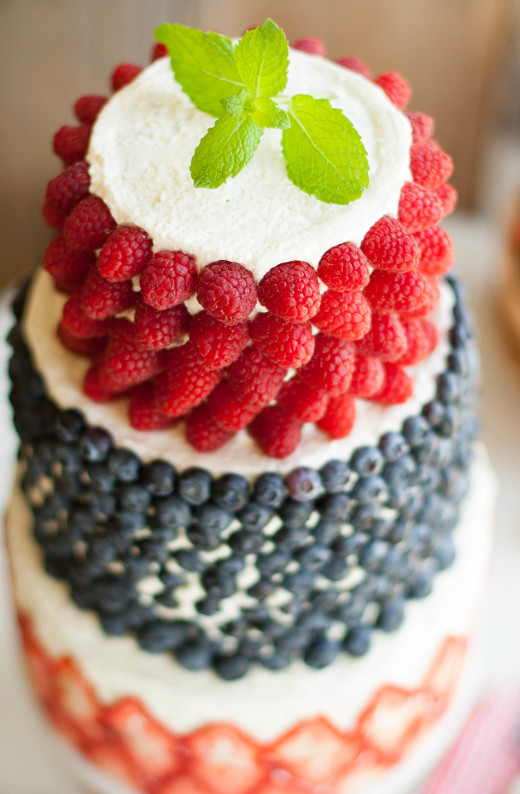
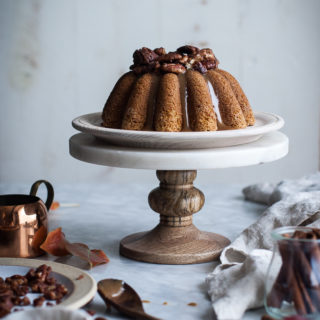
Thinly sliced strawberries on the bottom tier, blueberries in the middle, and raspberries on top.
When the time came for Lady(our favorite nickname for her) to blow out the candles, she did so timidly.
.
Then we let her have at it.
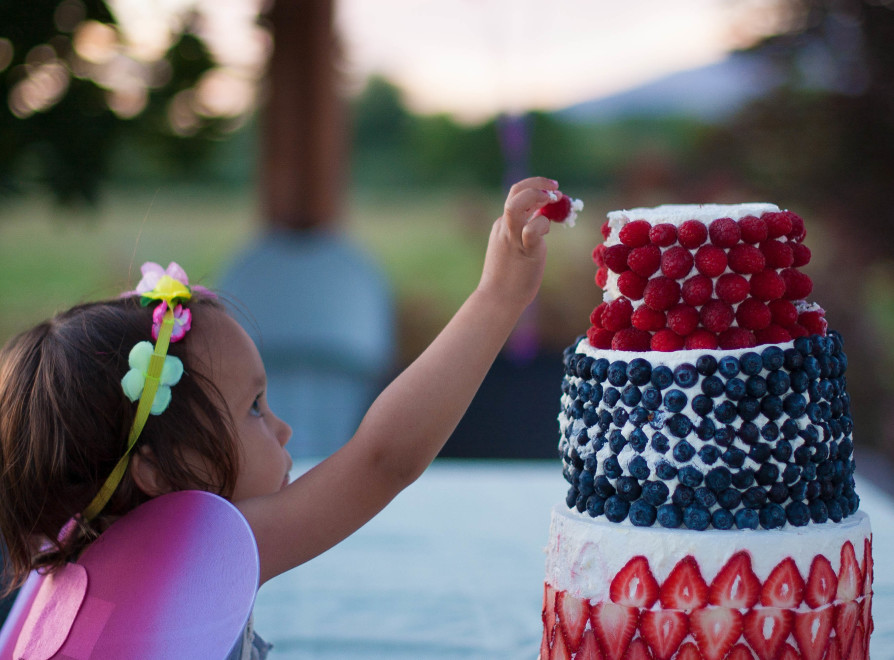
She was in berry heaven.
.
The cake was a deep dark chocolate frosted with a mountain of whipped cream. Very appropriate for a cake covered in berries as they were held up very well by the stabilized whipped cream and the sweetness wasn’t excessive. I used gelatin to stabilize my whipped cream and finished the cake off with a simple garnish of mint.
.
I have to say, this is a pretty patriotic looking cake as well. Not my intent when making it, but it was certainly seasonally appropriate.
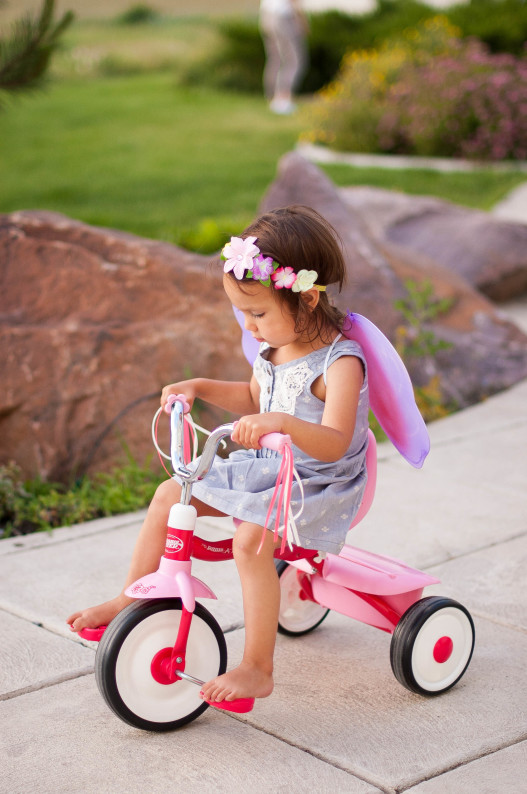
Lady’s favorite present? Her very own little bike. She’s been climbing up and air pedaling on her older siblings bikes for long enough, now. Needless to say she was thrilled.
.
By the way, anybody up for my GREATEST CAKE DECORATING SECRET EVER?
What is the biggest secret to getting a huge, multi-tiered cake without slaving away for days?
Styrofoam cake rounds.
You can find them in any cake decorating store, and sometimes craft stores as well.
For this cake, the bottom tier is made entirely of styrofoam. All I had to do was cover it thinly in whipped cream and layer strawberry sliced around the bottom half. Can you tell? Hopefully not =)
No hours of baking, no ingredients to buy, and most importantly, no massive amounts of cake left over. Not that leftovers aren’t good, but multi-tiered cakes usually leave you with more than you can handle. And with this trick, it looks impressive without putting a lot of work into it.
After the cake is gone? Keep those styrofoam rounds! Just gently wash them with soap and then let them air-dry completely. At 3-5 dollars a piece, you can use them for many, many cakes.

- 2 layers 4" round chocolate cake
- 2 layers 6" round chocolate cake
- 1 8" styro foam cake round
- Stabilized Whipped Cream(made from 4 C. Heavy whipping cream)
- 2 C. Raspberries
- 2 lb. Blueberries
- 2 lb. Strawberries, thinly sliced lengthwise
- Mint leaves, to garnish
- Cover the 8" styrofoam round in a layer of whipped cream.
- Press the thinly sliced strawberries into the cream all along the bottom tier of the round.
- Place the 6" cakes on top of the styrofoam round, filling the middle with whipped cream.
- Cover the cake in whipped cream.
- Press blueberries across the cake in straight lines, from bottom to top.
- Top the blueberry layer with the 4" cakes, filling the middle with whipped cream.
- cover the cake in whipped cream and press raspberries into the cream, across the sides.
- Keep cake refrigerated.
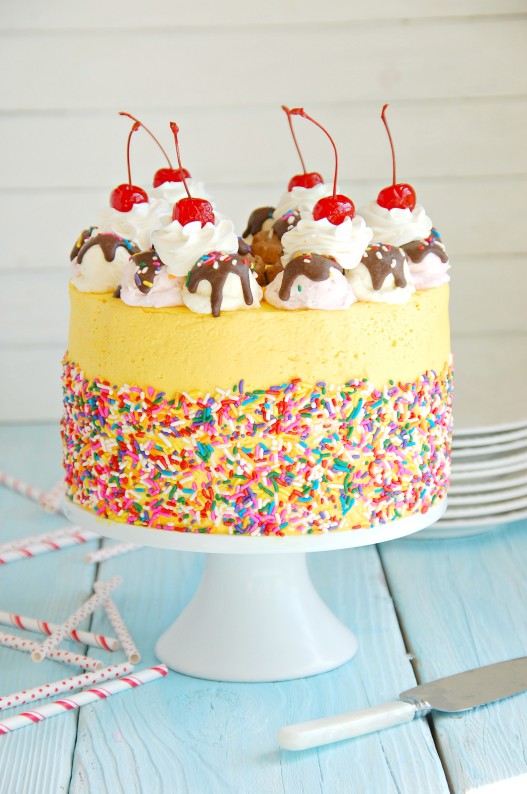
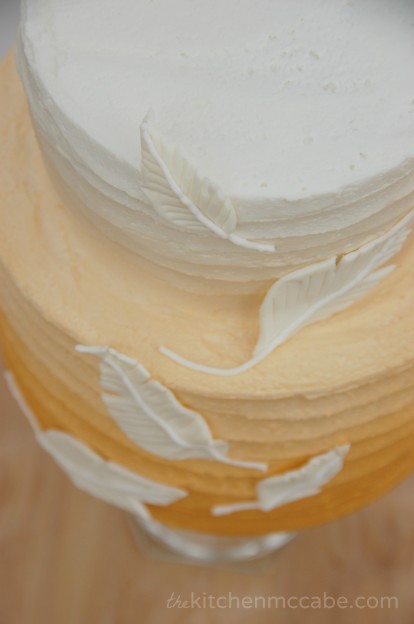
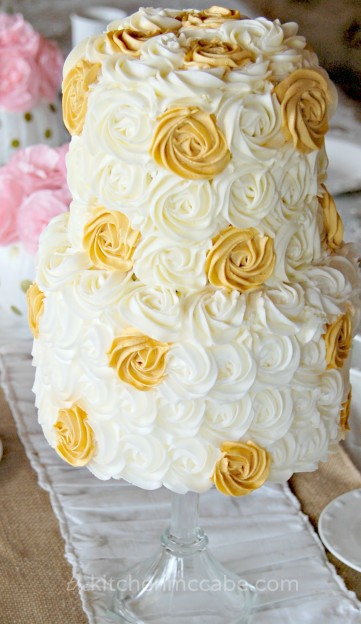
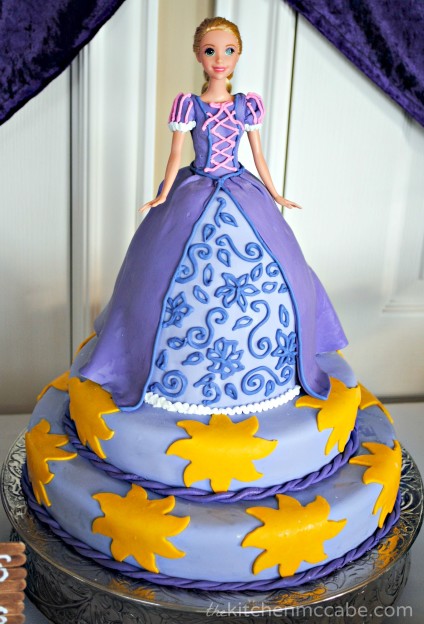
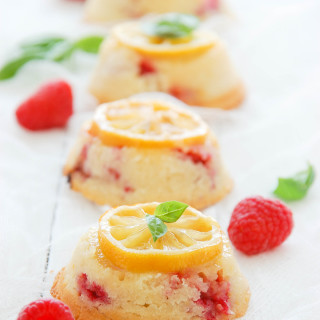
Here are a few more cake ideas you might be interested in:

First of all, this is such a stunning cake! So beautiful, and your little Lady is so adorable.
Secondly, I too made a completely styrofoam cake for my kiddo’s birthday party a couple of years ago. I wanted the look of a tiered cake but wanted the kids to eat cupcakes. So that’s what I went with! Such a smart idea 🙂
Thank you, Holly! Isn’t it the best little cheat!? That must have been an awesome party! Do you have pics on your blog?
Ohhh I don’t even know where to start. First of all, congratulations to the birthday lady – she looks plain adorable in her fairy costume :’) I hope she had the most amazing day!
Secondly, this cake must be the most beautiful thing I’ve ever seen. You’re ever so so talented! I mean, it looks absolutely stunning! I want one of these for my birthdat too 😉
Pinning! xx
You always leave the nicest comments, Consuelo, Thank you! She had a great day =) Thanks for pinning!
the cake is beautiful!
Thank you Dina! =)
Such a great looking cake. The idea of using foam cake rounds is fantastic. Definitely putting that in my mental file cabinet for later use.
Thank you Derik! The rounds have definitely saved me on more than one occasion 😉
This is an absolutely gorgeous cake! I love the fresh and vibrant look the berries give it!
Thank you so much, Jeni! Aren’t berries the best?! All I have to do is let them shine…minimal effort required 😉
Such a gorgeous cake! And I love this idea – so many occasions where I am left with massive amounts of leftover cake. Your daughter is such a doll too, looked like a wonderful birthday!
I love the berry covered cake! Although the styrofoam idea is not a huge secret with wedding cake decorators. Sometimes people want the height of a wedding cake without paying for all that cake. They call them dummy cakes.
Anyway, since you said you only used the dummy cake for the bottom tier, how did you stack the other 2 without the 4 inch sinking into the 6 inch? I can only imagine a lot of dowels and cake boards. Thanks!
Thank you Mina! True, it’s definitely not a huge secret if you’re in the cake biz, but so many people who don’t know much about cake decorating will hopefully find it useful =)
I actually didn’t use any supports for this cake because the top two tiers are only a 6″ and 4″. I also used a very dense chocolate cake that was very sturdy. Had I done larger tiers I definitely would have used boards and dowels =)
What an absolutely gorgeous cake!!! Love love love all the berries around the sides! And if you hadn’t spilled the beans on the bottom layer, I would never have guessed it was styrofoam! Such a fabulous tip! I have made many wedding cakes over the years…love the thought of making layers easy!!!
Thank you so much, Jocelyn! Styrofoam definitely makes things easier!
Hi, love the cake! Besides heavy cream did you use any other ingredient for the whipping cream?
Ana
Thank you Ana! Just whipped cream and a little sugar =)
Absolutely beautiful! Lovely work!
Lovely Cake! Please elaborate on the process of using gelatin to stabilise whipped cream. Thx!
Hi! This looks like a Great Idea for me to use for my daughter’s baby shower! Especially since I am GF and heavy cake layers tend to crumble. Please where is the recipe for stabilizing the whipped cream for the icing?
Hi Elisa! I hope this works well for your shower! I don’t have a specific recipe, but you can google “stabilized whipped cream” and find a lot of different recipes! =)