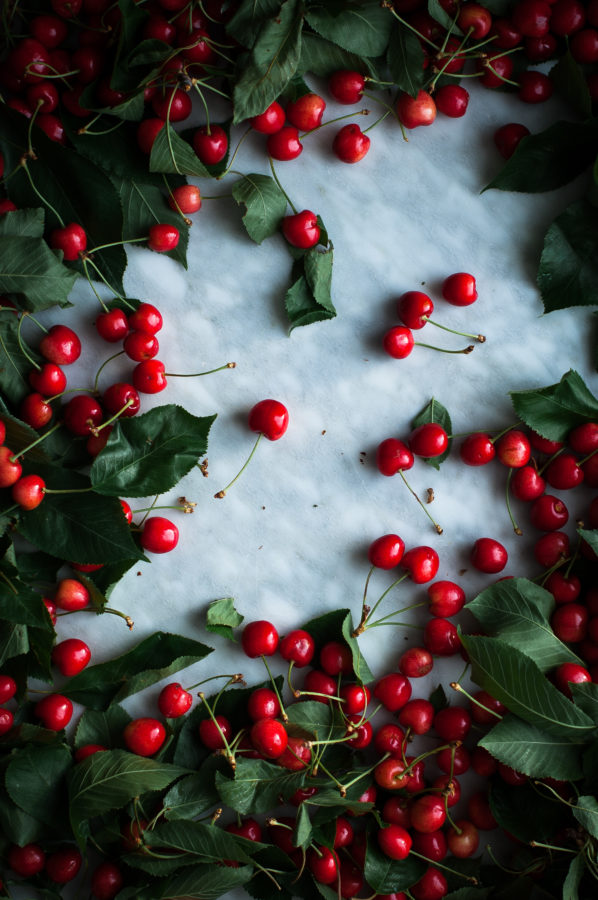
I have had quite the week of cherry picking adventures, which you may have seen a little bit of if you follow me over on Instagram. I thought that tree climbing was just for the kids, or least for those 20 and under, but let me tell you: there is no motivation to spring 30 feet up in the air on unnervingly thin branches like the motivation to reach perfectly ripe, sweet, fat & juicy cherries. I’ve been up in our trees all week and I have the elbow scrapes to prove it.
My biggest take away from this year’s cherry harvest?
Calm the FLIP down.
I was so worried that the birds would eat all of our cherries before we even got to picking them that I picked way too many, way too early. If I had just waited a week, or 5 days even, I would have gotten so many more amazing cherries, rather than just a few pounds of amazing cherries and 80+ pounds of slightly tart, under-ripe cherries. Yes, the birds would have gotten many of the cherries, but our take away would have been so much better. Next year…..next year I’ll know better. Maybe I’ll even get fancy and net the trees.
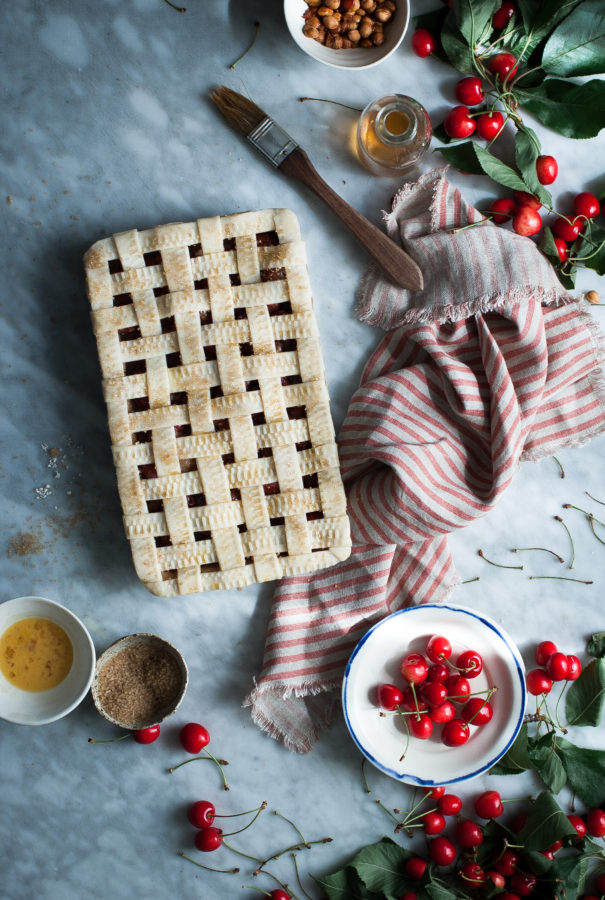
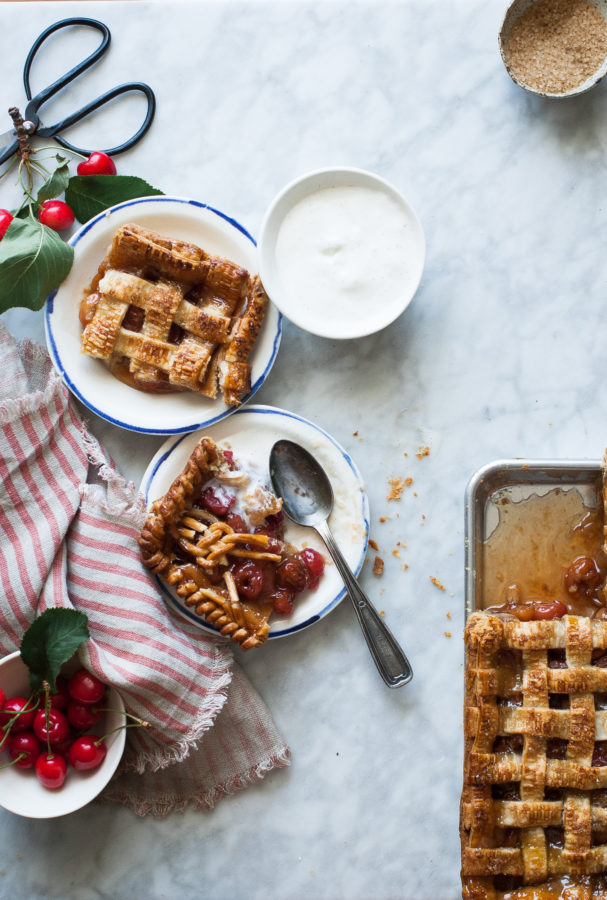
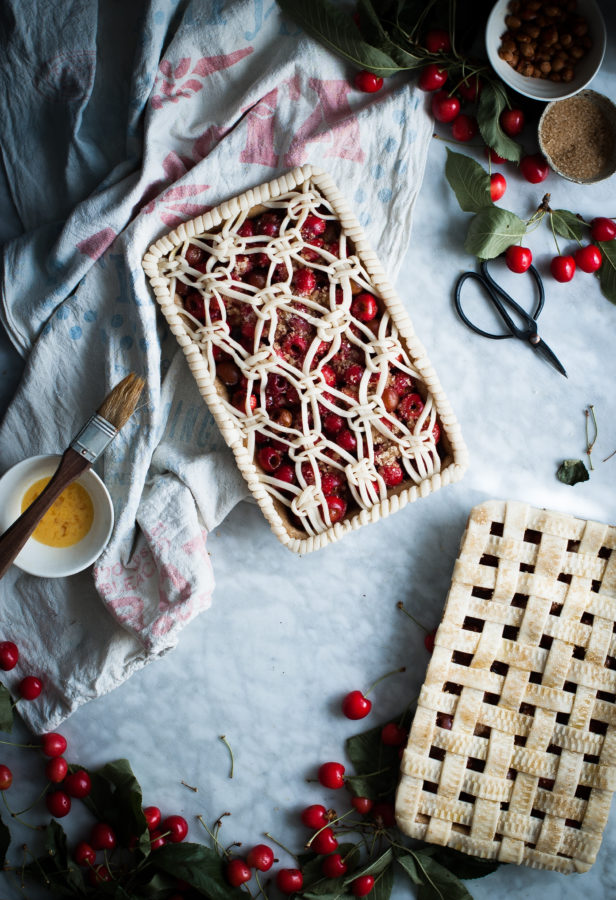
One thing I’ve been making a lot with my cherries is pie. Soooo many pies. This Cherry and White Balsamic Slab Pie is perfect for summer cherries! Just make sure that your cherries are super sweet. The white balsamic vinegar replaces my usual lemon juice for an acidic bite, and sweet cherries are the perfect counter. If you want the most incredible cherry pie ever? Serve this with a goats cheese ice cream. Goats cheese + balsamic + cherries = HEAVEN PIE. Oh my mercy. I need a goat. Just so that I can make goats cheese ice cream on the reg. That’s a solid reason to want a goat, right?

- FOR THE CRUST:
- 2½ cups White Whole Wheat Flour
- 3 tablespoons fine Cane Sugar
- ¼ teaspoon Sea Salt
- ¼ cup Shortening
- 12 tablespoons (1½ sticks) Butter, cold and cut into small cubes
- ¼ cup + Ice Water
- FOR THE FILLING:
- 4 cups. SWEET Cherries, washed and pitted
- 1½ tablespoons White Balsamic Vinegar
- 1 teaspoon Vanilla paste or extract
- 1 cup Turbinado or Demerara Sugar
- 5 tablespoons Tapioca Starch
- 1 egg, beaten
- Preheat the oven to 375 degrees. Lightly grease a 9x13" baking sheet.
- FOR THE CRUST:
- Place the flour, sugar, and salt in the bowl of a food processor fitted with an 's' blade. Close the lid, and pulse the mixture a few times until blended together.
- Add the shortening to the food processor and pulse once. Add the cubes of butter, one at a time, pulsing a few times after the addition of each cube.
- With the processor running, drizzle in the ice water until the mixture starts to form into large clumps. Do not add too much water. Dough should not be sticky or wet, but should come together to form a nice dough.
- Wrap up ⅓ of the dough and set aside.
- Roll the other ⅔ of dough into a ball and place in between two sheets of parchment paper. Roll dough into a rectangle that is 1 inch larger in diameter than your 9x13 baking sheet. Peel the top layer of parchment off of the dough and flip it over onto your baking sheet. Peel away the other layer of parchment and gently press the dough into the pan to fit (dough should just go over the sides).
- FOR THE FILLING:
- Place the cherries, white balsamic, vanilla paste, tapioca starch, and sugar in a large bowl. Toss to coat - tapioca starch should dissolve.
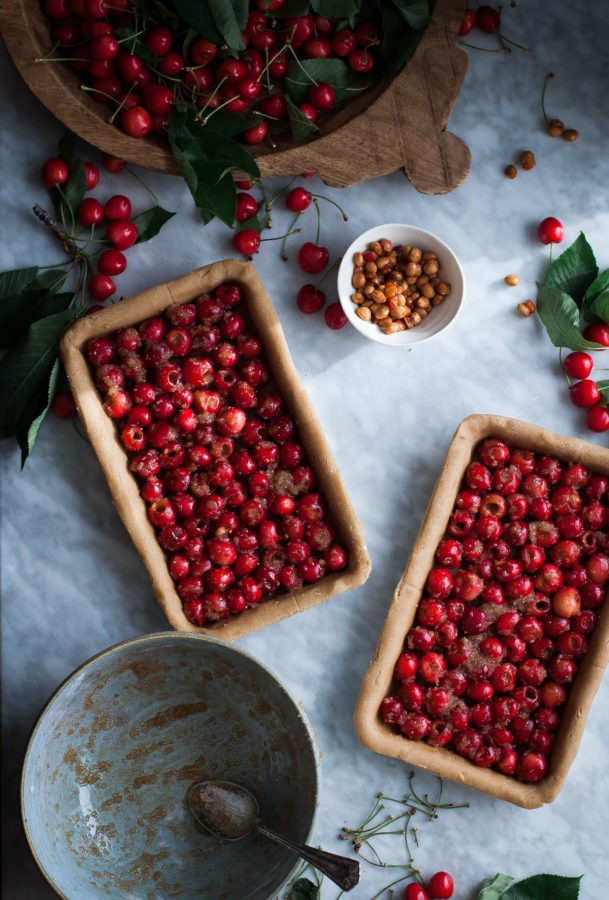
- Spoon the mixture evenly into the dough lined baking sheet.
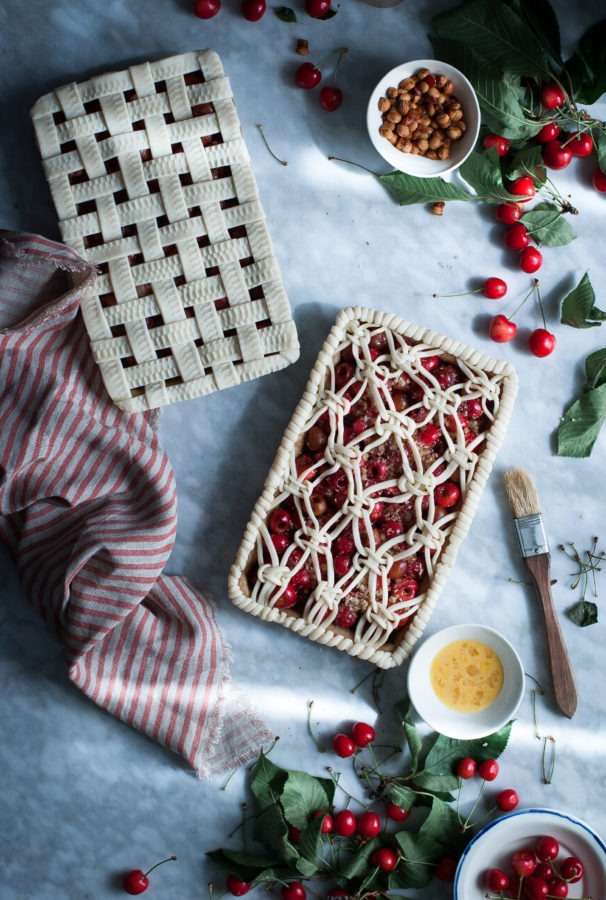
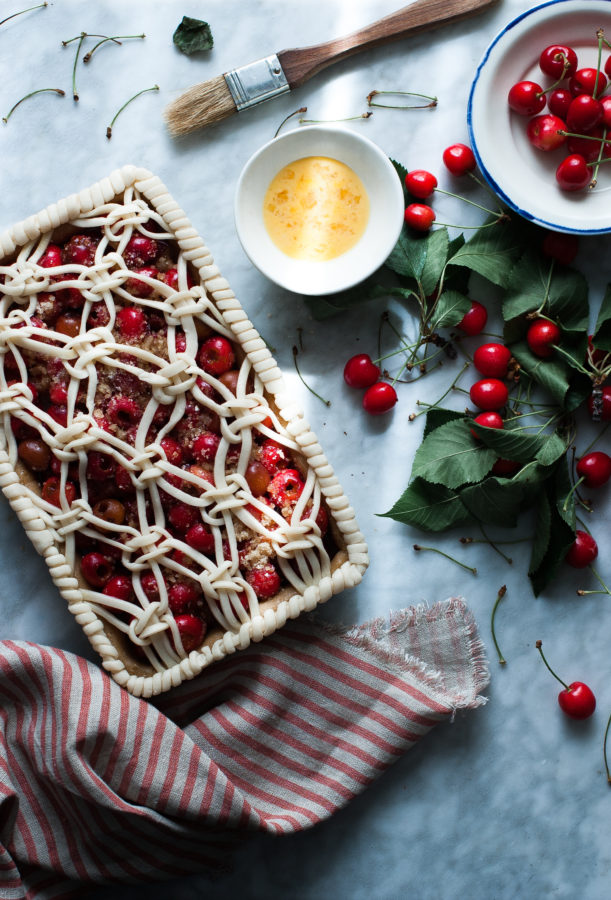
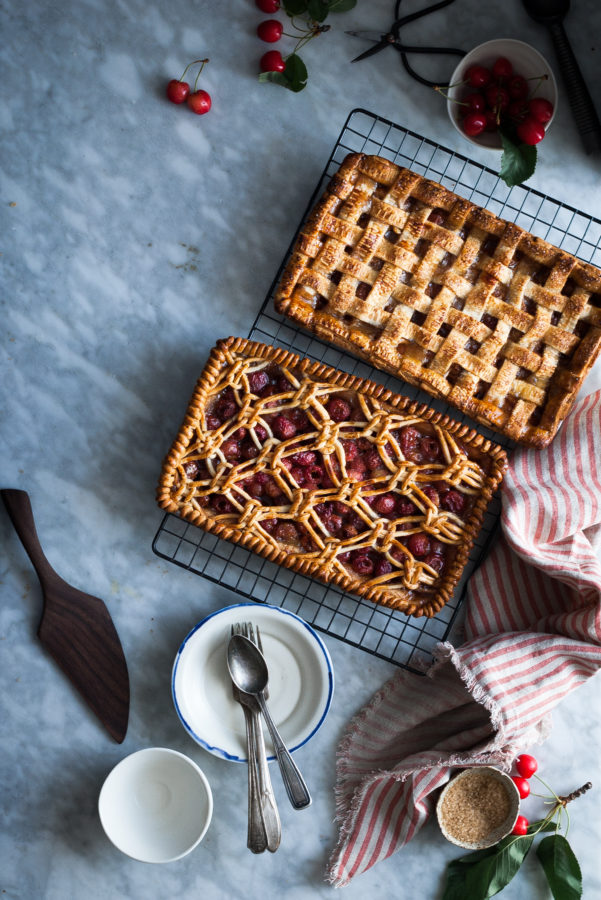
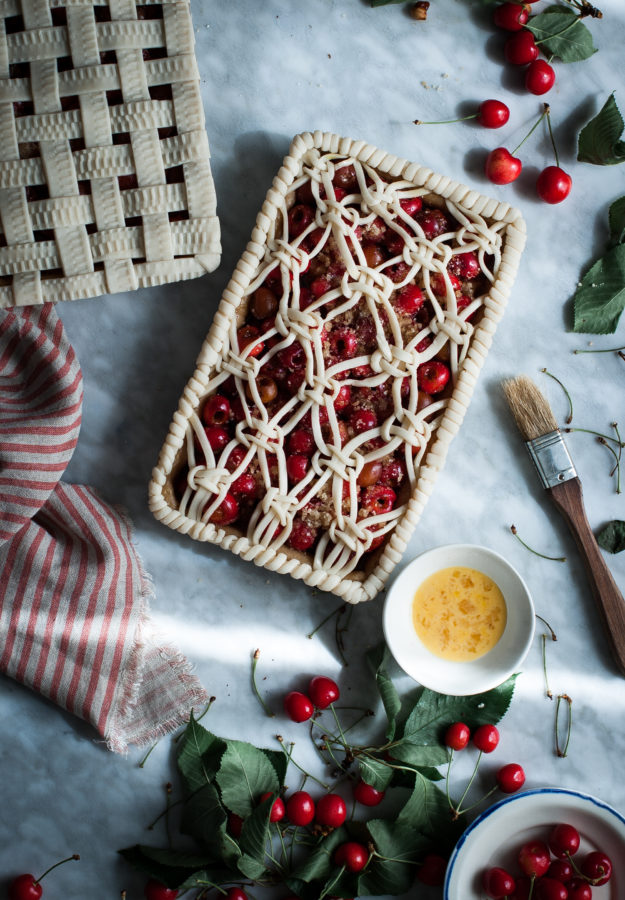
- Use the remaining pie dough to cover the pie in a lattice, or other form of decoration.
- Brush the top of the pie crust with beaten egg yolk.
- Cover the top of the pie with tin foil and bake in a preheated oven for 30 minutes on the bottom rack.
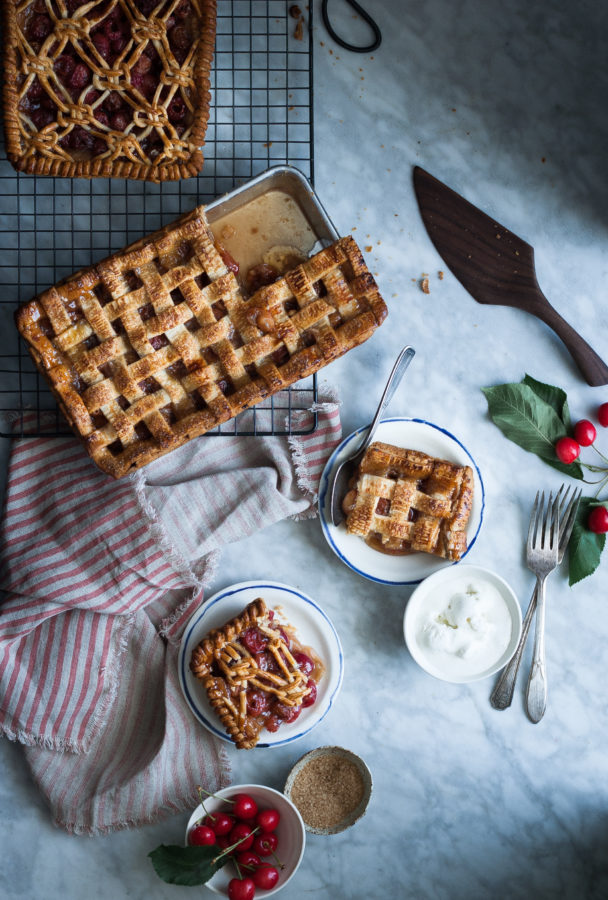
- Remove the foil from the pie and finish baking the pie on the top rack of the oven for another 10-15 minutes. The juices in the center of the pie should be bubbling. If they do not get to the point where they bubble, the pie filling will not set.
- Remove the pie from the oven and let cool for 15-20 minutes.
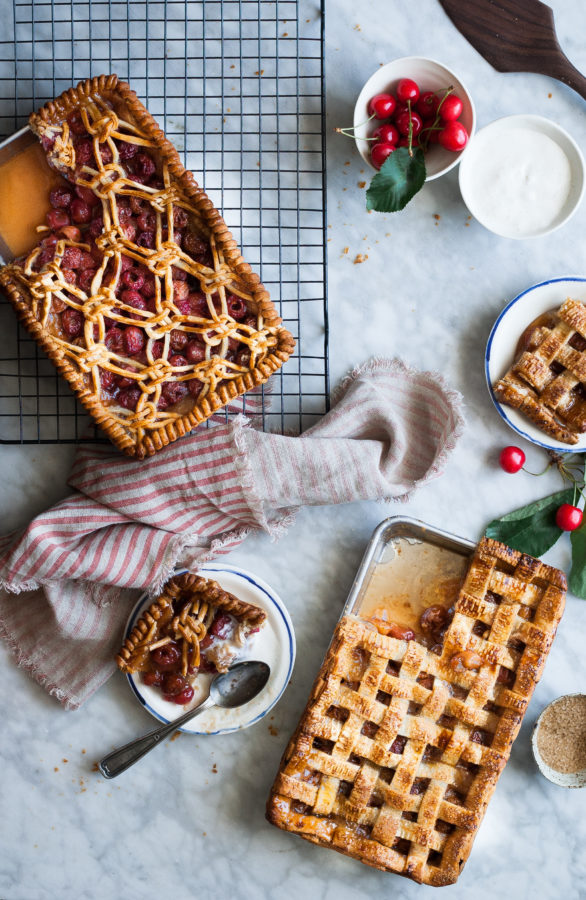
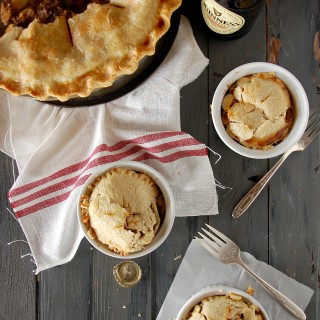
- Serve warm with ice cream!
Want more pie? Who doesn’t?!
Blackberry Mascarpone Hand Pies
OMG THIS PIE IM ACTUALLY LOSING MY MIND
This made me laugh! Thanks Michelle! =)
WOW, how did you do that it looks incredible you are a pie crust genius x
Haha, thank you so much, Aimee! You are so sweet! xo
Gorgeous pies, and I love the splash of white balsamic!
Thank you Marcie! =)
Wow so beautiful!! Cherry pie is one of my favourite things in the world! 🙂
Thank you Lili! Mine too! xo
The use of streaked sunlight makes these photos so beautiful and unique. As does the fancy crust – I have never seen a braided crust quite like this! Loving all of your pastry work lately, please keep it up 🙂
Thank you so much for the kind comment, Rosie! I shall bake on….xo.
wow, that intricate rope design is amazing!!
Would this amount of filling work for a deep 9in pie as well?
I think it should. I haven’t tested it out, but let me know how it works out if you try it =)
Amazing!!!! :O Love it !!!!
Is there a name for that crust treatment? Celtic knot or something? I would like to look up how to do it. Ty
I’m not sure what it’s called, but its a basic macramé knot 🙂