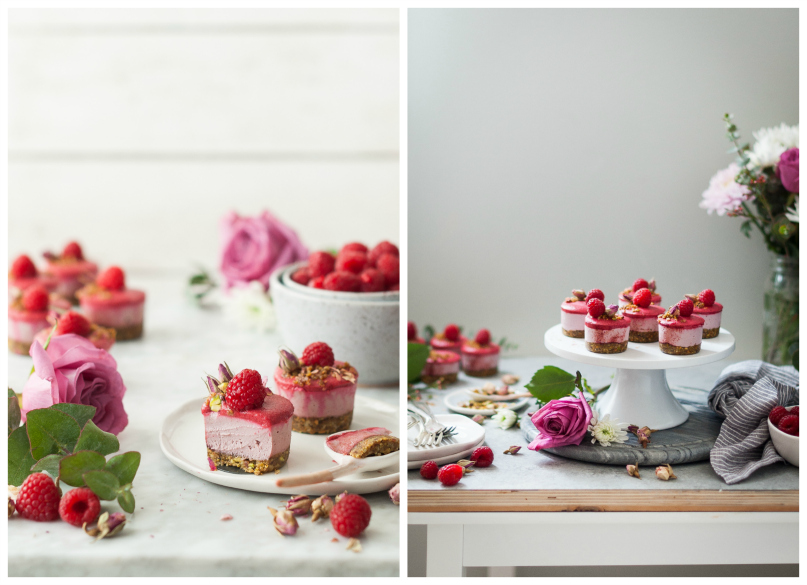
*These Raspberry Rose Mini Cheesecakes are raw, gluten & grain free, dairy free, refined sugar free, paleo friendly, and vegan.
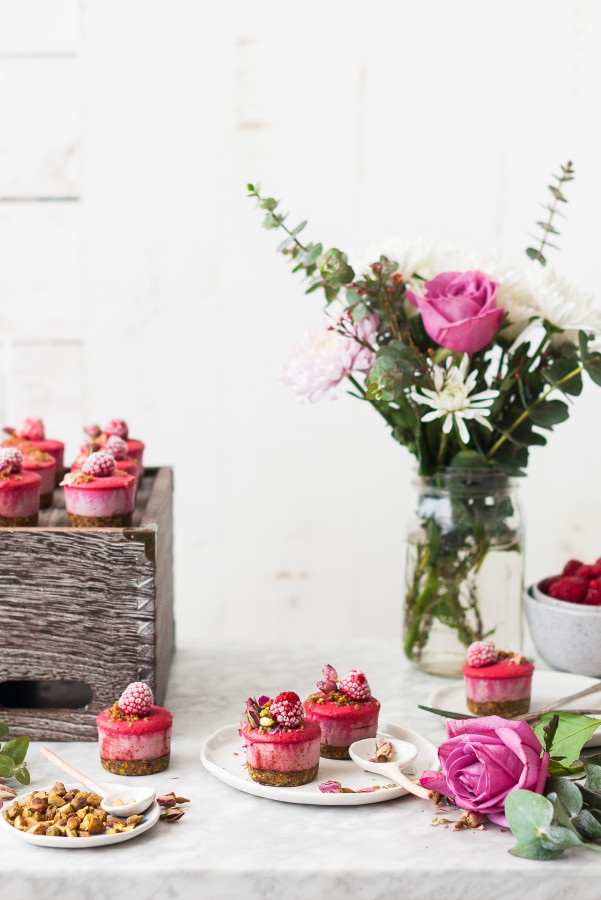
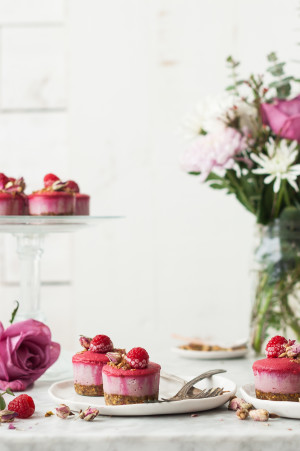
I’ll warn you right up front that this post is a tad bit picture heavy. I couldn’t help myself and shot these cheesecakes twice because they taste so far beyond gorgeous and I had to make sure that the pictures represented that. I could have really narrowed the selection down and simply shown you a few of the best but it would appear that I am a picture hoarder. Such abilities are beyond me. So, if you are here for pictures of pretty food, scroll slowly. If you are just about the recipe, head on to the bottom of the post 😉
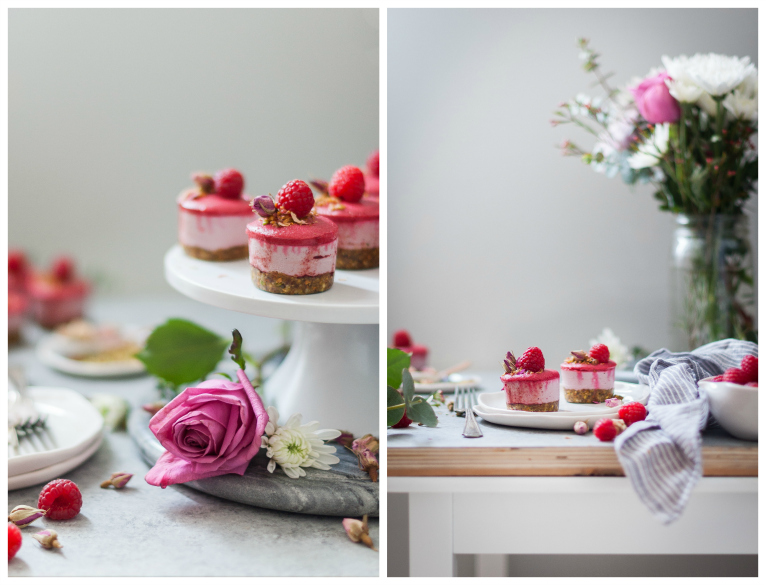
With Valentines day just around the corner and a shocking lack of rose flavored desserts in my social media feeds, these Raspberry Rose Cheesecakes were born out of what is clearly necessity. I mean, have you ever flavored a dessert with rose? It is the most gorgeous, bold yet subtle, luxurious flavor. After I made these I couldn’t stop wondering why I haven’t utilized my rose oil more frequently.
These cheesecakes start with a substantial layer of a pistachio/walnut crust sweetened with dates. I find that when it comes to raw desserts, I like the crust to be on the thicker side so that it balances out the richness of each layer – raw cheesecakes are more dense and rich than their baked counterparts.
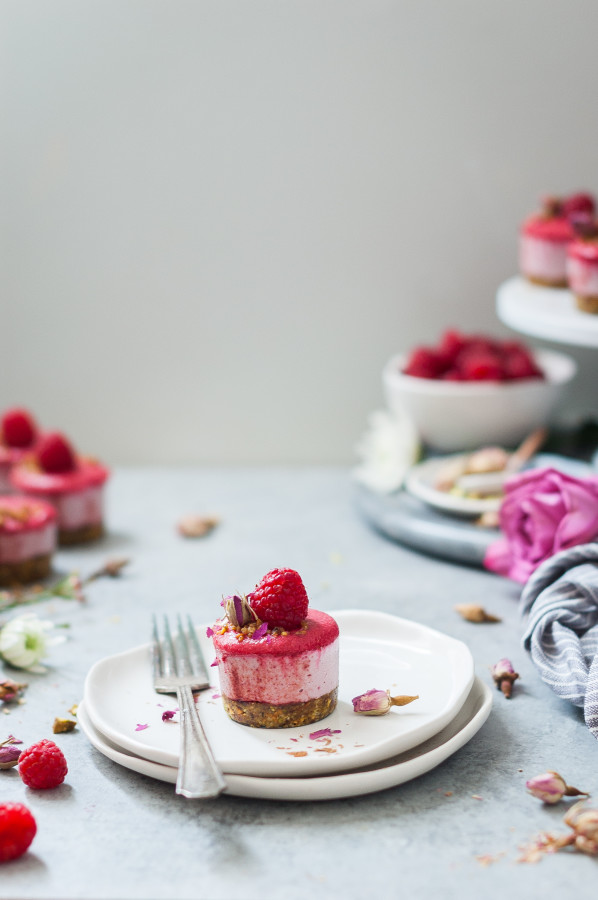
On top of that crunchy, slightly salty nut layer is a super creamy, dreamy layer of raw raspberry rose cheesecake. The cheesecake consists of cashews, fresh raspberry puree, and is sweetened with maple syrup. If keeping these cheesecakes vegan is not a concern for you ( I myself am not vegan but love to make recipes that cover a variety of dietary preferences so that as many people as possible can enjoy them) then you can sweeten it with honey or another liquid sweetener of your choice.
To top of these cheesecakes, another layer is added, this time of a tangy raspberry puree mixed with coconut oil to firm it up. Sprinkle a little more pistachio crumble on top of the cakes along with fresh raspberries and dried rose buds (or fresh, if you have them!) and you have what might just be the most romantic and perfectly pink dessert of all the time.
I hate wearing pink but eating pretty pink desserts? That ain’t no thing. Actually, I’ll eat them all if I have to.
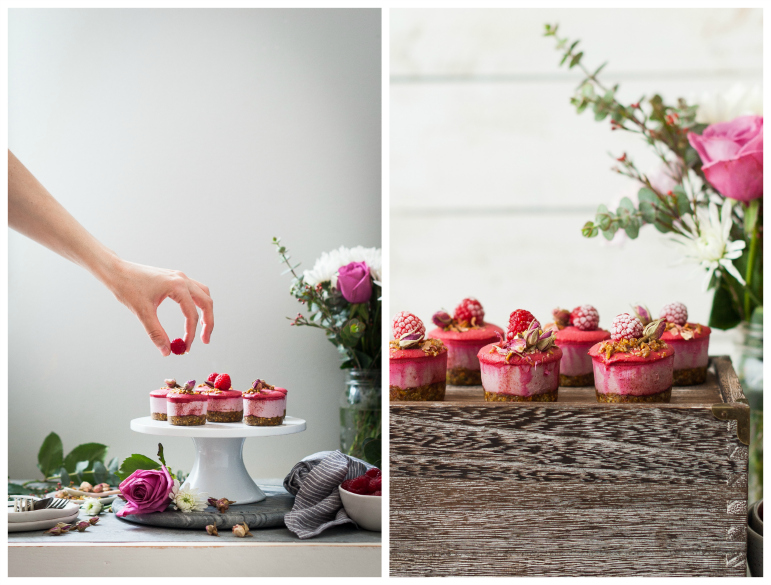
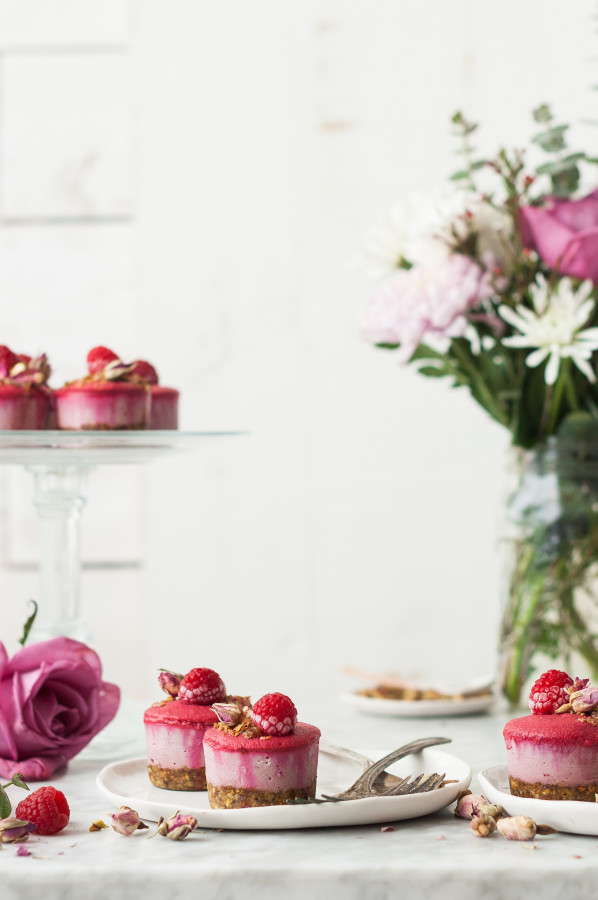
Make sure to take these out of the freezer about 10 minutes before you want to serve them so that they will soften up a little. You can add the fresh raspberries to the top before freezing, or after you pull them out. Personally, I love the white frosty layer the raspberries develop as they warm up. It almost looks like a dusting of icy powdered sugar.
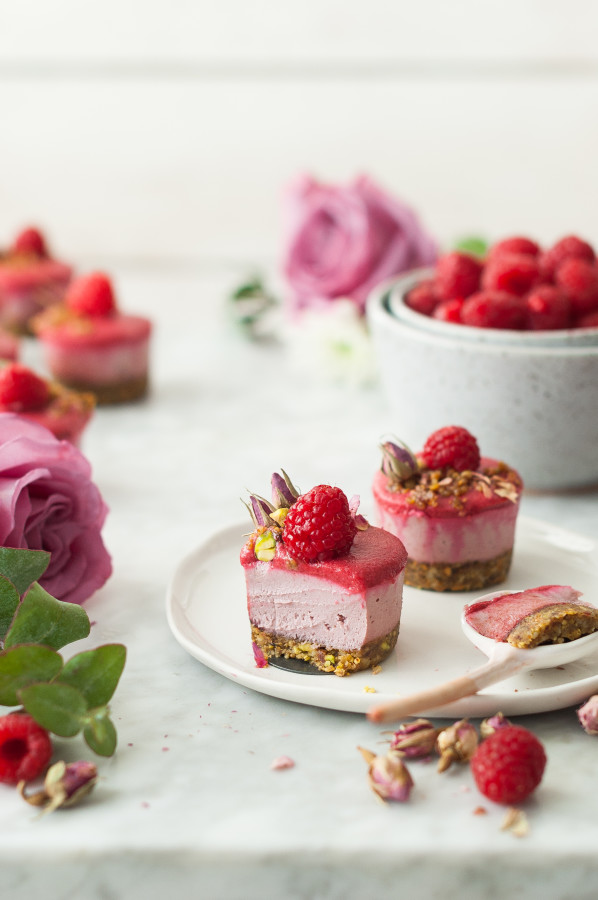
A FEW TIPS:
*If you remember to do so, soak your cashews in water overnight (you can do this by placing them in a jar and covering them with at least an inch of water, covering, and letting it sit on your counter overnight). If you are like me an forget (ever time), simply pour hot water over your cashews (cover by at least an inch) and let sit on your counter for an hour. Drain and you are ready to roll.
*You can use rose water or rose oil for this recipe. I use rose oil and it works incredibly well. Just make sure that it is a food grade oil. I use one by doTERRA. Since the oil is so potent, even a drop would be incredibly overpowering. To use the oil, you’ll want to use the toothpick method. Dip a toothpick into the oil and swirl it around in the cheesecake batter. Blend and taste. If you want a stronger flavor of rose, repeat this process. This way you can make sure that you don’t add too much rose oil. As with all essential oils, once you add it to food there is little that you can do to dilute the flavor. So start small! If you don’t want to use rose oil, rose water will work just as well and is a little easier to use.
*For a pretty variation in color, dust the greased sides of you cheesecake pan with a few splashes of beet root powder. This won’t flavor the cheesecakes at all, but will give them a pretty speckling of dark pink along the sides when you pop them out of the pan.
More decadent raw desserts:
Raw Key Lime Cheesecake with Macadamia Crust
Mostly Raw Chocolate Peanut Butter Truffle Tart
Raw Chocolate Cake Brownies with Fluffy Chocolate Frosting
Chocolate Covered Strawberry Macaroons
- CRUST:
- ⅔ cup Pistachios (shelled)
- ⅔ cup Walnuts
- 4 Medjool Dates (pits removed)
- ⅛ teaspoon Sea Salt
- ½ teaspoon Vanilla
- RASPBERRY/ROSE FILLING:
- 2½ cups Raspberries (fresh or frozen)
- 1½ cups Cashews (soaked overnight - or use quick method mentioned in post)
- 3 tablespoons Coconut Oil, liquified
- 3 tablespoons Coconut Butter, softened
- 1 teaspoon Vanilla
- juice of 1 small Lemon
- 6 tablespoons Maple Syrup (or honey, if not vegan)
- 4 tablespoons Water
- ½ drop Rose Oil (food grade - see post) or ½-1 teaspoon Rose Water
- RASPBERRY TOPPING:
- 2 tablespoons Coconut Oil
- 1 tablespoon fresh Lemon Juice
- 1½ tablespoons Maple Syrup (or honey)
- Fresh raspberries, to garnish
- Dried rose buds, to garnish
- lightly grease a 12 well mini cheesecake pan. A pan with removable bottoms is best.
- FOR THE CRUST:
- Place the pistachios in a food processor. Process until broken down into smaller pieces (about ¼ the size of a whole pistachio). Add the walnuts, dates, salt, and vanilla to the food processor and process until the nuts are coarsely ground and the mixture sticks together when pressed in.
- Reserve 4 tablespoons of crust (this will be used to top the cheesecakes with).
- Divide the remaining crust between the cheesecake wells and press the crust in each well down firmly with the back of a teaspoon until it is smooth and packed. Place the cheesecake pan in the freezer while you make the raspberry rose filling.
- FOR THE RASPBERRY ROSE FILLING:
- Puree the raspberries in a blender or food processor. Run the puree through a fine mesh sieve and discard the seeds.
- Place the cashews (drain them first), 8 tablespoons of the raspberry puree, coconut oil, coconut butter, vanilla, lemon juice, maple syrup, and water in a high speed blender and blend until creamy and perfectly smooth (this may take a few minutes).
- If using rose water, add ½ teaspoon to the mixture and blend. Taste and add more as needed.
- If using rose oil, dip a toothpick into the bottle of oil and swirl the oil dipped toothpick around in the cheesecake mixture. Blend and repeat until the desired taste is reached. I used rose oil and I needed to dip my toothpick twice to achieve a nice rose flavor. Remember - oil is strong so start small!
- Divide the cheesecake mixture evenly between the cheesecake wells, over the frozen crusts (make sure to leave about ¼-1/8" of space at the top of the cheesecake filling for the raspberry topping). Tap the pan to level the cheesecake filling and freeze while you make the raspberry topping.
- FOR THE RASPBERRY TOPPING:
- Place the remaining raspberry puree in the blender (use the same blender that you used for the filling - it does not need to be washed as long as you scraped it out well) along with the coconut oil, lemon juice, and maple syrup. Blend until smooth. Pour the topping over each cheesecake (just to the top of the well). Tap lightly to smooth the topping.
- Sprinkle 1 teaspoon of reserved pistachio crust over the top of the cheesecake. Top each with a fresh raspberry and a few rose buds.
- Freeze until solid.
- TO SERVE: Let pan sit at room temperature for a few minutes before popping out the cheesecakes. Remove bottoms and serve. You can also let them sit in fridge for 10-15 minutes to soften up (after you remove them from the pan).
- Keep these frozen - they will keep for several months in the freezer and you can pull one out any time you have a cheesecake craving!
Wow these really are beautiful, i love the delicate flavour of rose so i’m definitely going to try them.
Pretty pictures of food are always good in my book 😀 These look as incredible as you say, I just love the natural color. Rose is such a delicious flavor, I bet they’re scrumptious 🙂
I’m usually all about the recipes, and tend to scroll right down to business, but THESE photos were worth lingering over. So beautiful – I’m really, really impressed. <3
Thank you so much Lorinda! What a nice compliment, I’m glad you like them!
These look absolutely stunning! And most importantly, delicious. Could you please share where you buy your props?!
Oh my goodness.
I just happened across your blog today and this post is why I signed up to follow your creations. This is quality food creation and your photography is so inviting. Well done all around! 🙂
I also appreciate the more unusual ingredients. The avoidance of gluten, cane sugar and dairy. I eat all of those foods, but it is refreshing to see the use of other ingredients which makes for a recipe that I can serve at a fine Tea and not worry about who has to stay away from what! Thank you for that.
Exquisite! 🙂
Thank you so much for the nice compliments! Aren’t unusual ingredients so fun! I love that they can be nutritious while still tasting just as good as anything conventional =) Thank you for following along with my blog! xo