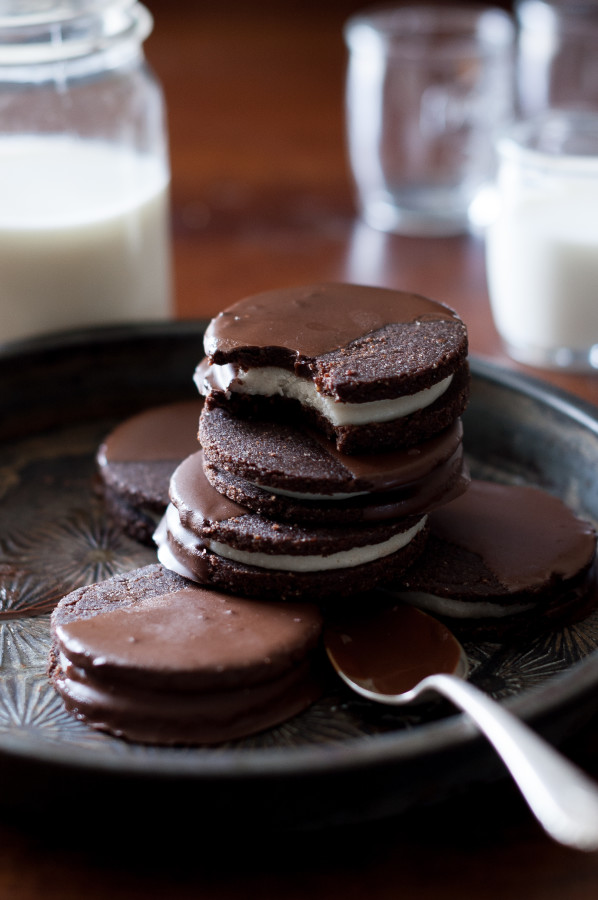
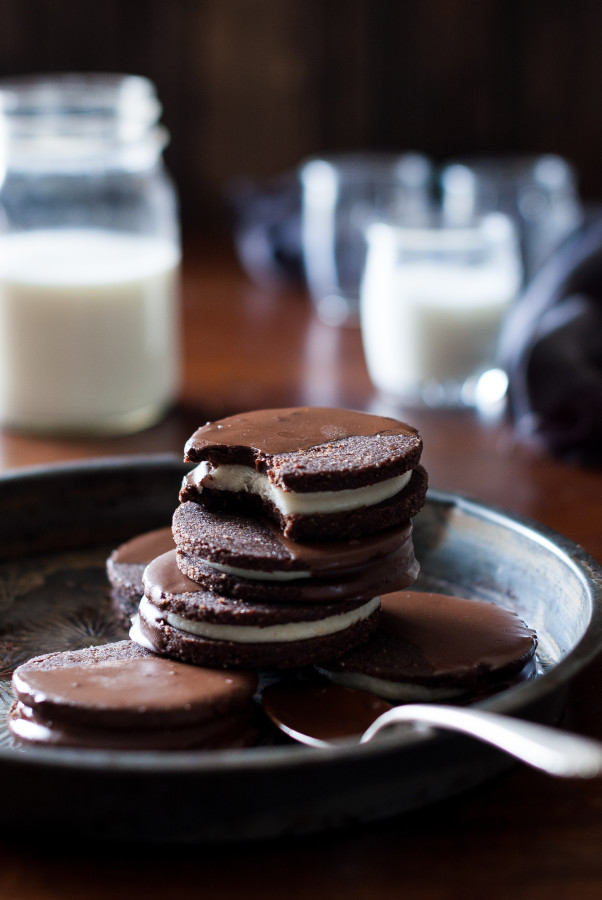
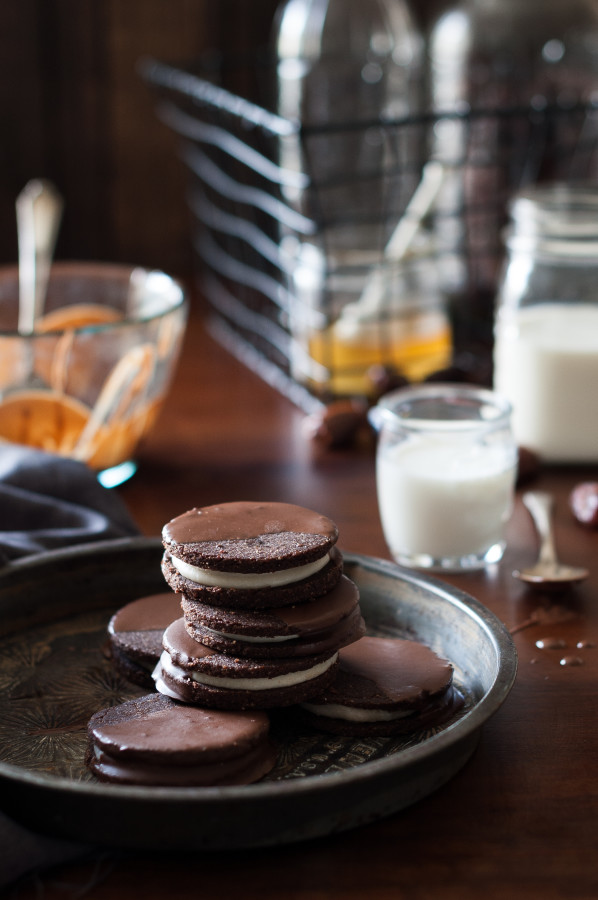
*These Oreo Cookies are raw, vegan-friendly, refined sugar free, gluten free, dairy free and are dipped in a glossy chocolate coating.

I was grocery shopping with my kids the other day and they came across a wall of Oreos on an aisle end cap. Usually this is not a problem because the cookie and chips aisle are one of those that we pretty much never navigate. But there we were. My precious littles faced with a monstrously large stack of one of the most iconic cookies on the market.
Now, it’s not like my kids have never had an oreo. I’m sure I’ve bought a pack or two over the last eight years, not to mention the many other places they would have had them.
BUT.
Oreos are not a cookie I buy any more. I haven’t bought pre-made cookies for years, now, and oreos don’t exactly make the cut after our white-sugar purge.
Sitting in that aisle, staring at those cookies, listening to the plea’s of a three and four year old, I found out that I am quite strong. And quite weak.
Strong because I did not buy the cookies.
Weak because I went straight home to figure out a way to give these little babes some Oreo cookies with ingredients that I could feel good about.
You just try and say no to what I like to call their “depths of despair” faces.
NOT. POSSIBLE.
Plus, kids should be able to eat cookies.
So, here we are.
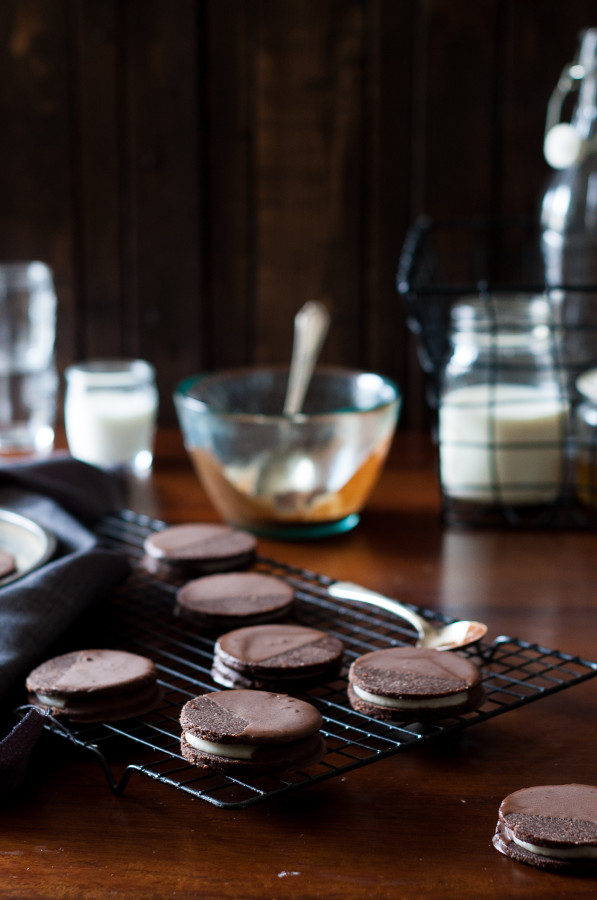
Oreo cookies that are refined sugar free.
Dairy free.
Gluten free.
Vegan-friendly
BOOM.
I made the dough for the chocolate cookie portion somewhat crumbly, so it needs to be firmly pressed together when rolling it out. This results in a cookie that is a little more “crisp and crumbly” like and not quite so chewy, as many date based cookies are. So bear that in mind whilst making these.
The filling for the cookie is so simple and consists of coconut butter, coconut oil, vanilla, and honey (or agave, for vegan). I want to experiment with a oreo cookie filling that uses soaked cashews, but decided not to for this version because my oldest is allergic to them. I was not about to let her miss out on healthy, homemade oreos.
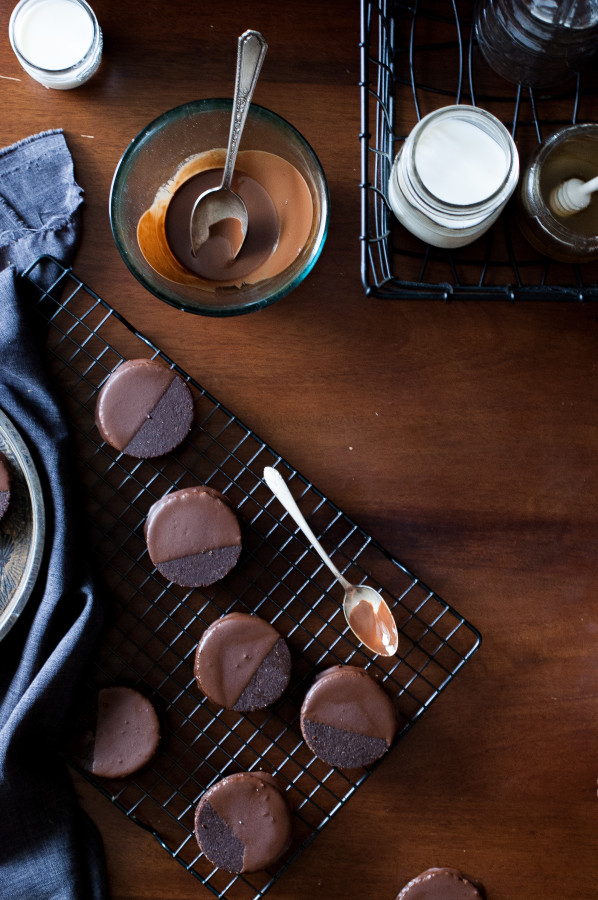
These do need to be kept refrigerated, but they keep their texture very well and don’t become soggy. I’ve kept a few hidden in the fridge for over a week now and they are still fantastic.
You can make 10 large Oreo’s if you use a large, round cookie cutter. If you use a smaller cutter (think 1 to 1 1/2 inches in diameter), you should be able to get about 20 cookies out of the recipe.
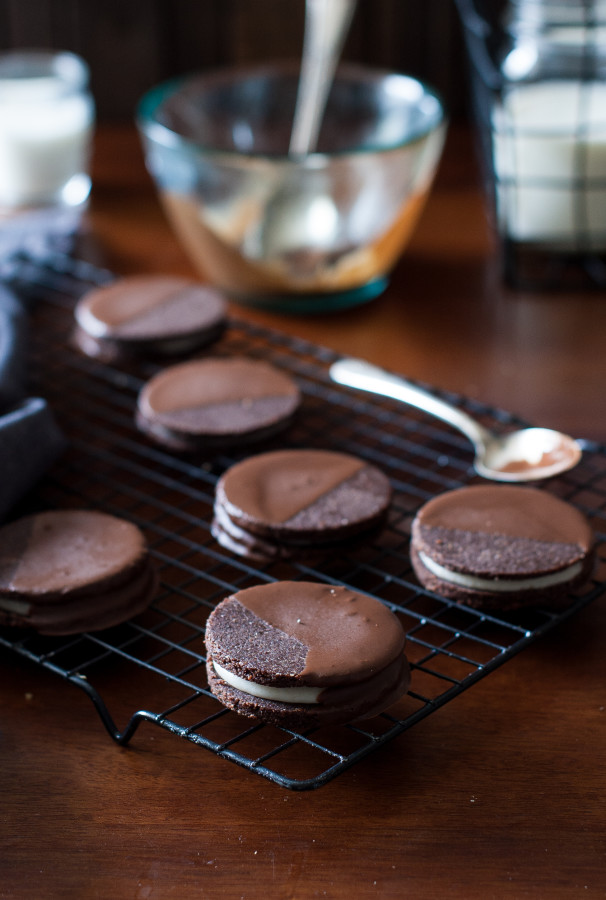
*Remember to taste the components of the cookies as you make them and if you like them sweeter, add a little more honey or agave to the filling. You can even add a little liquid sweetener to the melted chocolate, if you so desire. I like my chocolate goodies a little more on the less sweet side, so make sure you taste and adjust according to your preferences =)
- 3 cups Almond Meal
- 20 Delget Noor Dates
- ½ cup Raw Cacao Powder
- 2 tablespoons Coconut Flour
- ¼ teaspoon finely ground Himalayan Pink Salt
- 3 tablespoons Coconut Oil
- 1 tablespoon Vanilla
- For The Filling:
- ⅓ cup Coconut Butter
- 3 tablespoons Coconut Oil
- 1 teaspoon Vanilla
- 2 tablespoons Raw Honey or Agave (or other vegan sweetener)
- Chocolate Coating:
- 1 cup Chopped Dark Chocolate or Chocolate Chips
- 1 tablespoon Coconut Oil
- FOR THE CHOCOLATE COOKIE:
- In a food processor, combine the almond flour, dates, cacao powder, coconut flour, salt, coconut oil, and vanilla. Process for several minutes, until the mixture becomes one smooth, doughy mass. There should be no lumps or large pieces of dates.
- Place the dough between 2 sheets of waxed paper. Roll or press down to a thickness of about ⅙th of an inch. Note that the dough will be slightly crumbly so you will need to press it down firmly to get it to hold together- this makes the end product more "cookie-like".
- Place the sheet of dough in the fridge on the back of a cookie sheet and let chill for 30 minutes.
- Remove dough from fridge and peel away the top layer of waxed paper. Using a large circular cookie cutter (or small cutter for smaller, more traditional sized cookies), cut round cookies out of the dough, lifting up with a thin metal spatula and taking care not to break cookies.
- Press any scraps of dough back into a thin layer, refrigerate, and cut more circles out.
- Set cookies in the refrigerator while you make the filling.
- FOR THE FILLING:
- Place the coconut butter in a small mixing bowl and slightly soften in the microwave, if needed. butter should still be solid, but spreadable. If it melts, put it back in the fridge until it firms up again. Add the coconut oil (again, this should be soft and spreadable), vanilla, and honey to the coconut butter. Mix together until smooth and creamy.
- Using a small scoop, scoop about 1 tablespoon of filling on to the middle of half of the cookies. You can use more or less filling as you prefer. Top each filled cookie with another chocolate cookie and press down gently until the filling spreads to just before the edges of the cookie.
- Place the chocolate chips and 1 tablespoon of coconut oil in a microwave safe bowl and microwave for 30 seconds. Stir together until the chocolate melts and the oil mixes in. Microwave for another 15 seconds or so if there are any chocolate pieces that aren't melting.
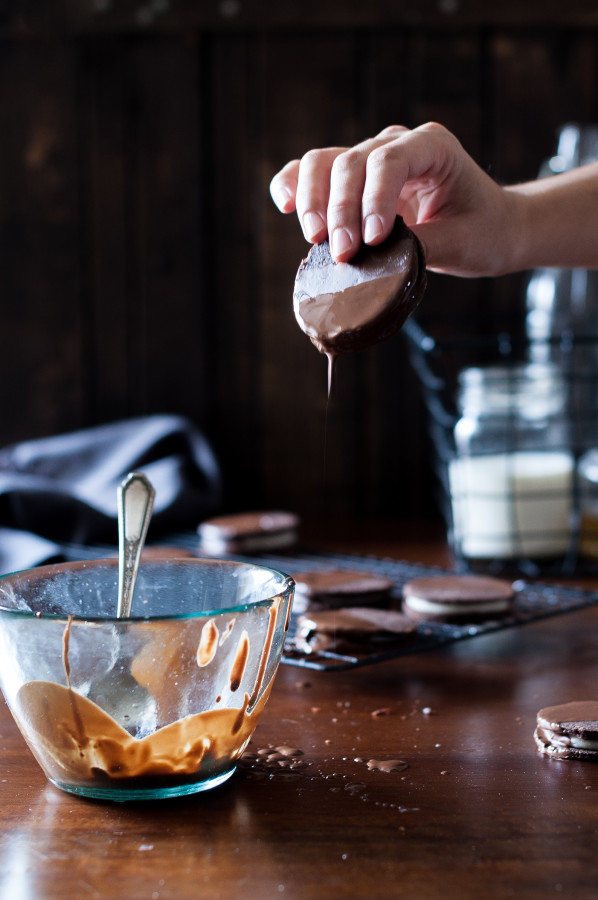
- Dip the oreos in the melted chocolate and lay them on a parchment lined cookie sheet. Refrigerate until firm.
- Store in an airtight container in the fridge for a week.


Raw oreos? What a concept! These look incredible, especially with your gorgeous photos 🙂 Love the coconut butter filling too!
Thank you June! Isn’t coconut butter the best!?