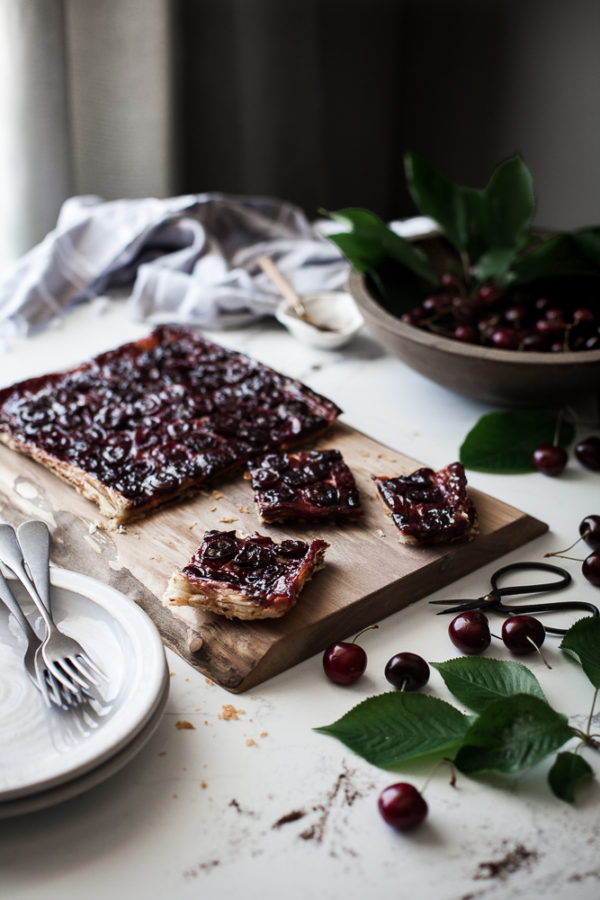
I say it every time I post one, but I adore a good tarte tatin. There is nothing that quite matches it in simplicity and rustic elegance. Now that cherry season has arrived I just had to make one. One soaked with my beloved vanilla bean infused browned butter. And slab style – feeding my extended family desserts every Sunday requires a BIG dessert. So I made two 9×13 pans of these. One for them, one for me. Uh – me and the baby, I mean.
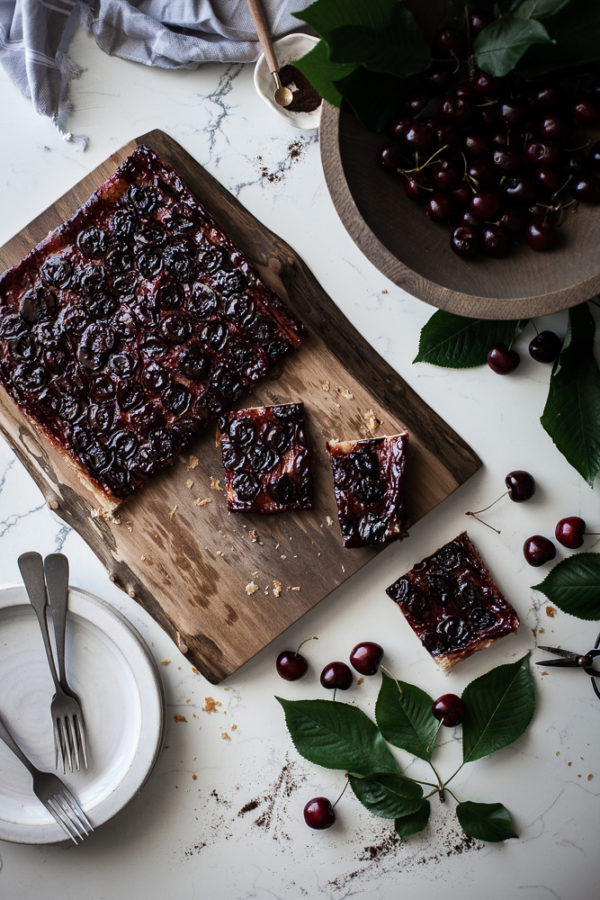
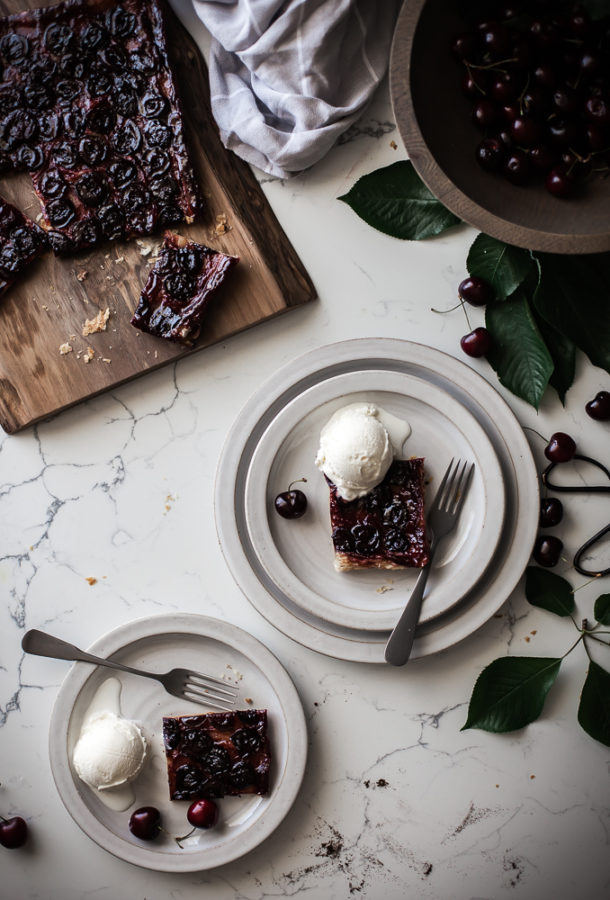
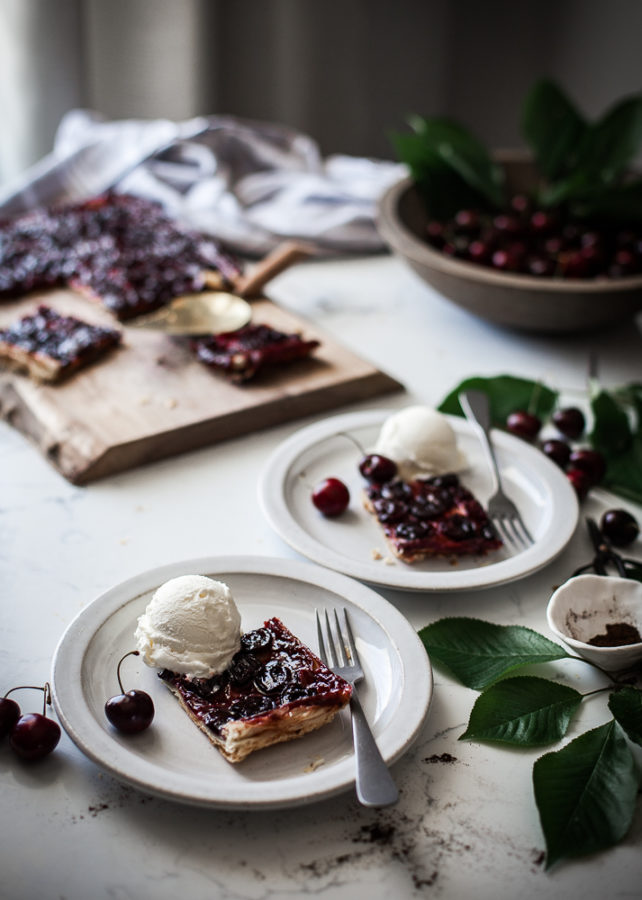
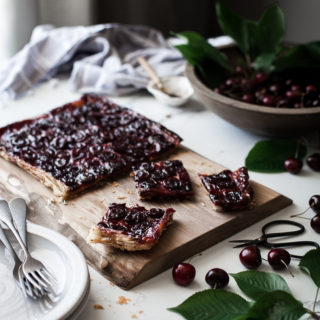
Usually you would make a tarte tatin in a cast iron skillet. I wanted to have a bigger tarte, though, one that I could cut into squares. So instead of caramelizing the sugar on the stove top first, it’s done in the oven. When it’s time to invert the tarte, not all of the cherries will want to cooperate and stay where you initially placed them. No worries, just grab a fork and slide them/move them back into place while the tart is still hot. It will still look just as pretty.
- FOR THE PUFF PASTRY:
- 1⅔ cup Flour
- ¼ teaspoon Salt
- 8 ounces Grass-fed Butter, cold
- ½ cup Ice cold Water
- extra flour for dusting
- FOR THE CHERRY TOPPING:
- ½ cup Fine Raw Cane Sugar
- 6 tablespoons Grass-fed Butter
- 1 Vanilla Bean
- 2 cups Ripe Cherries, pitted and sliced in half
- FOR THE PUFF PASTRY:
- Place the flour and salt in a mixing bowl and whisk together. Cut the cold butter into small cubes and toss into the flour. Using a pastry cutter or two butter knives, slice the butter into the flour until it is pea-sized. Make a well in the center of the mixture and pour in the water. Mix together lightly to form a dough. Turn the dough out on a lightly floured surface and pat into the shape of a rectangle. Flour the top lightly and roll out to about half the thickness (the first part of this process will be a bit messy). Using a bench scraper, scrape under the top third of the rectangle and fold it over on top of the dough rectangle. Do the same thing with the bottom third of the dough so that you have formed a rectangle with three layers that is now laying horizontally. Turn the rectangle so that it is facing you vertically again and repeat the process of rolling, scraping, and turning, until you have done it about 10 times (use as much flour as is needed to keep the dough from sticking to the rolling pin and counter, but not so much that it becomes dry). At this point you will have developed several flaky layers of pastry. Butter smears should be visible in the dough (this is where the flaky-ness comes from.
- Place the dough on a sheet of parchment paper (flour lightly) and roll into a 9½" by 13½" rectangle.
- Place in the fridge.
- Preheat the oven to 425 degrees.
- FOR THE CHERRYTOPPING:
- Sprinkle the cane sugar evenly over the bottom of a 9x13 baking pan. Lay the cherries, cut side down, over the sugar, covering the entire pan.
- Place the butter in a saute pan over medium/high heat. Melt and continue to cook, swirling the pan occasionally, until the butter turns a golden brown and gives off a nutty aroma. Remove from the heat. Scrape the vanilla beans from the pod and stir into the browned butter.
- Carefully spoon the butter over the top of the cherries, covering the whole pan.
- Place the pan in the preheated oven and cook for 10 minutes
- Remove the pan from the oven and let cool for 10 minutes
- Place the rectangle of puff pastry over the top of the cherries, tucking the slight excess of dough underneath the cherries around the sides of the pan.
- Place back in the oven and cook for another 20-25 minutes, or until the puff pastry is puffed and golden brown.
- Remove from the oven and very carefully invert onto a serving platter. All of the cherries may not fall from the pan/stay in place. Use a fork or tongs to place them back on the tart.
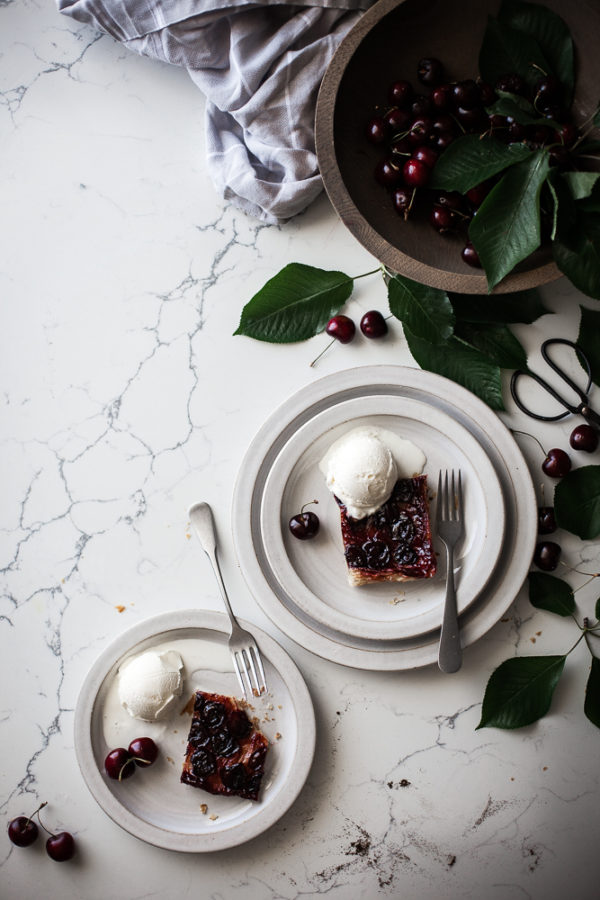
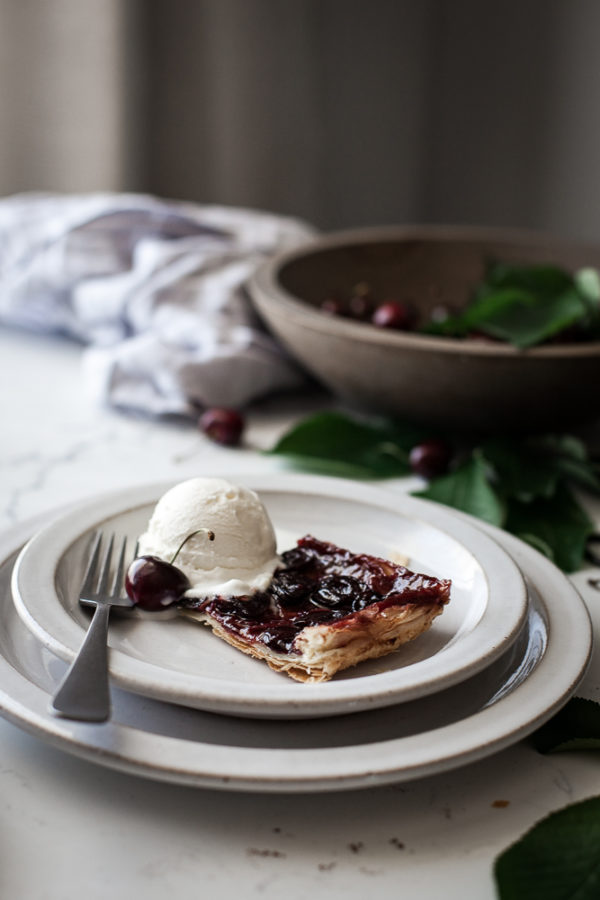
- Slice and serve with vanilla ice cream.

Ahhh I just have to make this! Cherries have TONS of vitamin C and we have colds, so this will be a good dessert for us! I have to try so hard not to drool over your recipes AND photos!
OMG This looks amazing!!!
Can’t wait to try it out!