It seems as if we all go through the search for the perfect roll recipe.
Some of us already have it, passed down from generation to generation.
Some of us try recipe after recipe, hoping to find one that hits the right balance of density and lightness. Something soft and buttery.
I went through several recipes before I found the perfect rolls.
And they are PERFECT.
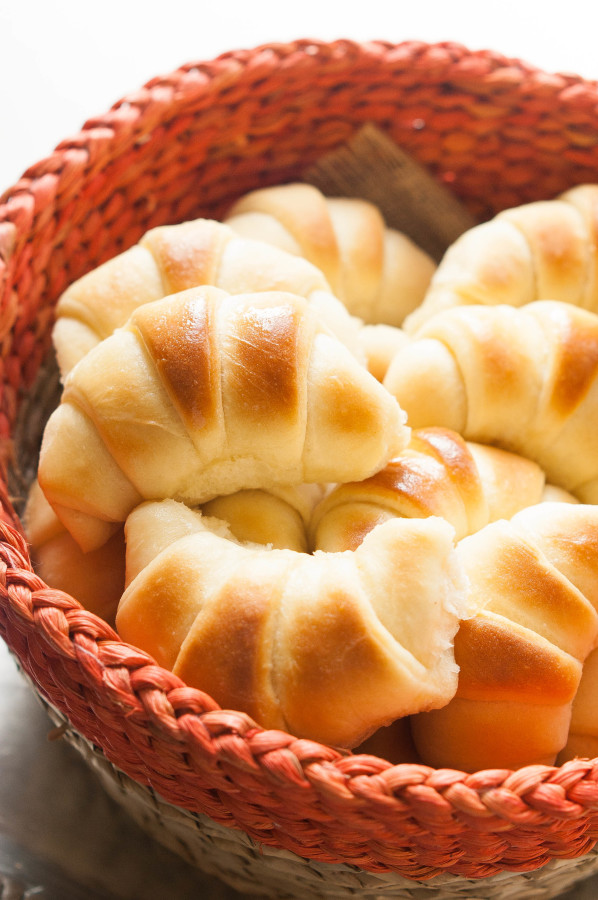
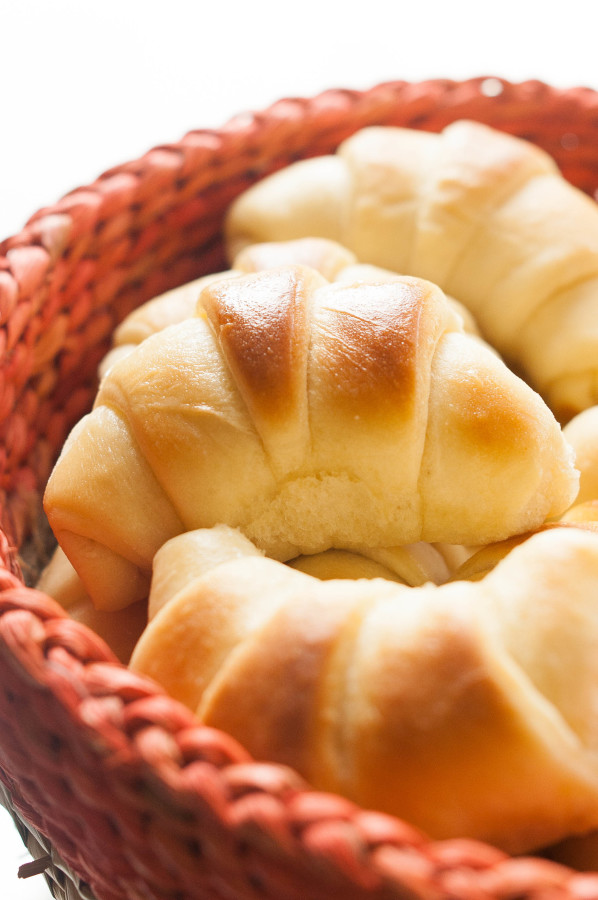
PERFECT CRESCENT DINNER ROLLS.
I will never need to look for another roll recipe again.
The original recipe comes from howdoesshe.com. I have made these rolls way too many times to count, now, and they are the butteriest, softest, best tasting, and best textured rolls that I have ever had in my life.
They’re pretty much fool-proof as well.
Of the probably 30 batches I’ve made in the last 9 months, there has only been one that didn’t turn out. And that was because my yeast was bad. So, that’s saying a lot as baking bread has never been my forte. Bread and cookies. So sad.
The original recipe makes a very large amount of rolls. 4 dozen to be exact. While that works just fine when I have a large group to feed, I almost always halve the recipe when I’m cooking for my family. That way we have plenty for the meal, and a good amount left over to snack on, take to work, etc. 2 dozen rolls is the perfect amount for us.
I’ve written the recipe so that you end up with 24 rolls as well. This involves using half an egg, which is no biggie. Just break your egg into a small bowl and beat it well. When the recipe calls for the egg to be added in, just pour in what you eye-ball to be half of the beaten egg. If you are a little over or under it won’t matter much. The rolls will still turn out wonderfully.
The only thing you really need to watch is making sure that the water for your yeast is not too hot, as well as making sure that the hot milk/butter/flour mixture that it is combined with has cooled enough that it will not kill the yeast when they are mixed together.

I always use a stand mixer when making these rolls. The original recipe calls for hand mixing, but I find it unnecessary and draining on my weak little chicken arms. one of the main reasons for hand mixing is that it helps keep the dough from being over-mixed. If using a stand mixer, just make sure to stop beating once you reach the desired texture. No kneading is required.
I don’t always form the roll dough into crescents. Another favorite kind of roll of mine are garlic knots. This recipe works wonderfully for those as well. Once they are baked I use THIS RECIPE to brush a little garlicy goodness over them.
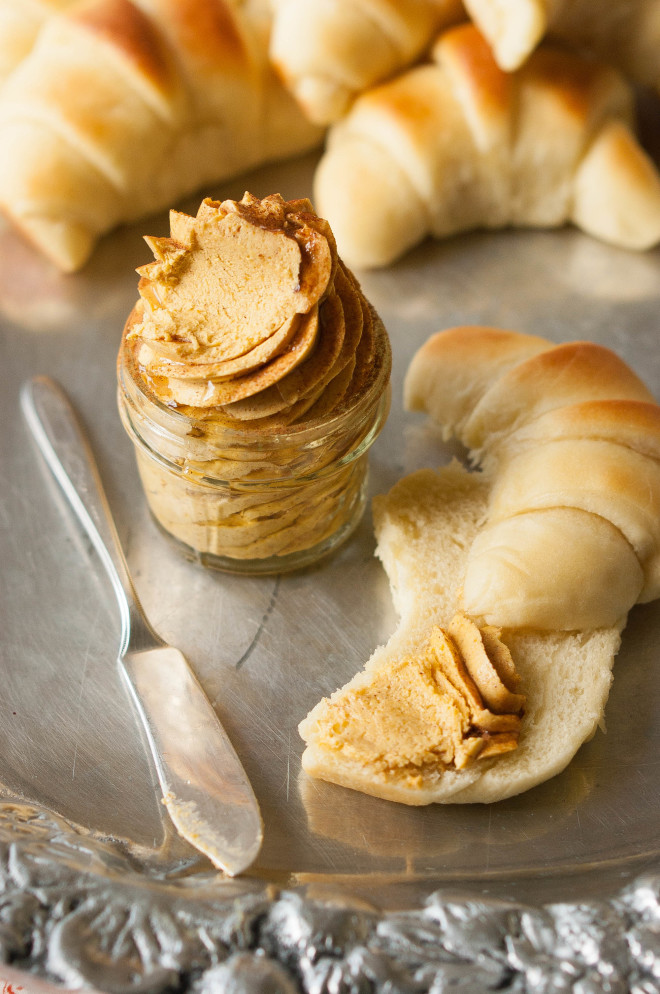
Though these rolls are fantastic on their own, a yummy spread can’t hurt, right?
Try spreading this Whipped Cinnamon Pumpkin Honey Butter on freshly baked rolls at a fall dinner this season.
- ¾ C. Milk(preferably 2% or whole)
- scant ½ C. Sugar + ½ T. Sugar(divided)
- ½ Egg(beat egg in small bowl and use half of beaten egg)
- ½ T. Salt
- 1 T. Yeast
- 1 C. Warm Water
- 4½-5 C. Flour
- ½ C. Butter, divided plus extra melted butter for brushing.
- In a small saucepan, scald the milk, ¼ C. (1/2 stick)butter and scant ½ C. sugar. Butter should be mostly melted. Pour the mixture(scraping any sugar that has not dissolved out along with it with a rubber spatula) into the bowl of a stand mixer.
- Add 1 C. of the flour, the salt, and the ½ egg to the milk mixture and quickly stir together with a dough hook attachment. Attach the dough hook to the mixer and turn on to low speed to help the mixture cool down while the yeast develops.
- In a small bowl, mix together the warm water and ½ T. sugar. Add the yeast and give one quick stir. Let the yeast sit for 5-10 minutes, or until it is foamy and bubbly.
- Add the yeast mixture to the mixer. Add 3 C. of flour and mix together on medium/low speed. When mixed together, slowly add in the remaining ½-1 C. of flour, or until the dough is just slightly sticky.
- Scrape the dough out into a greased bowl and cover with plastic wrap. Let rise in a warm place until doubled in size. I place mine in a warming drawer, so it only takes about 30 minutes, but depending one how warm the area you place it in is, it may take up to over an hour.
- Dust your work surface heartily with flour.
- When the dough has doubled in size, cut it in half.
- Place one of the dough halves on the floured surface and roll out into a circle that is about ¼" thick. Spread 2 T. of softened butter evenly over the circle of dough.
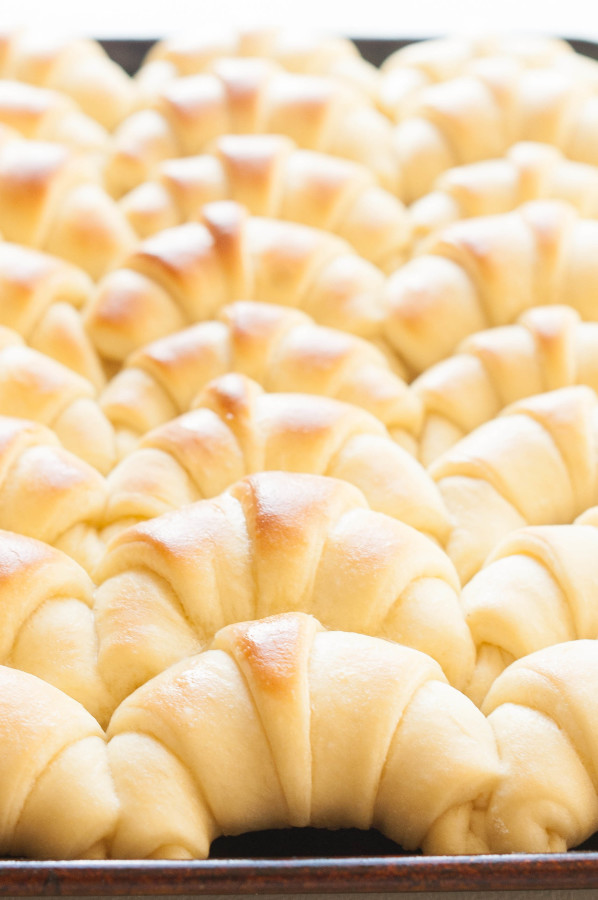
- Cut the dough into 12 triangles, like you are cutting a pie or pizza. Staring from the outside in, roll the dough up into a crescent shape, buttered side in. Place on a greased baking sheet with the end of the dough tucked until the roll. Repeat with the remaining dough triangles and the other half of the dough and 2 T. Butter. You should end up with 24 rolls, placed 3 across/8 deep on the baking sheet.
- Cover with a towel and place in a warm place and let rise until almost doubled in size. For this step, it is ok if they are not quite doubled in size as they will still puff up quite a bit when they hit the oven.
- Bake in an oven heated to 350 degrees for 10-15 minutes, or until just golden brown on top.
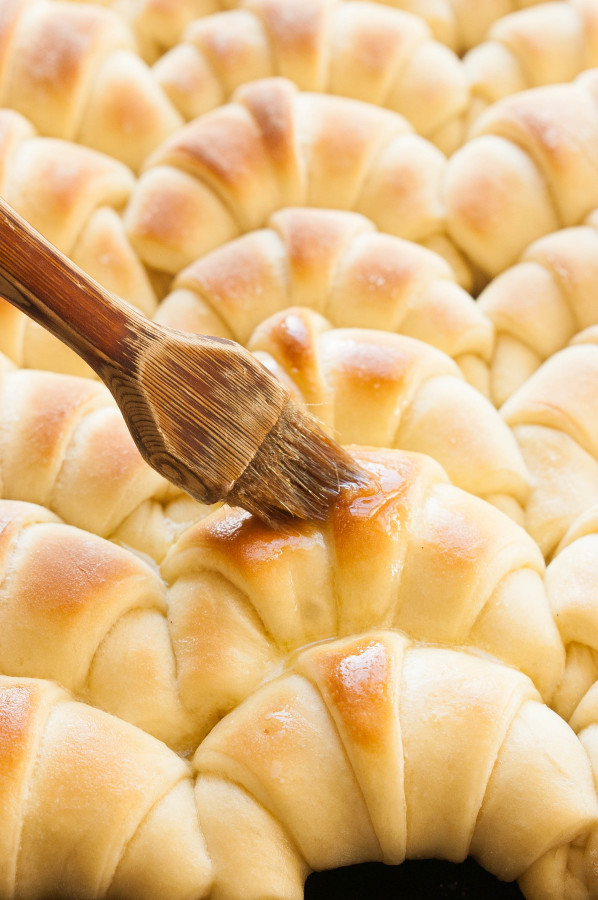
- Remove from the oven and immediately brush melted butter over the tops of the rolls.
Original recipe via How Does She
Wow – these really are perfect. Little works of art! Almost too perfect to eat. Ahh….just kidding. I want to shove like 10 of these in my face right now!
Oh my GAH! I love homemade bread, and these crescents look absolutely perfect. I’d have a hard time just having 1!!
When you said, 1/2 C. Butter, divided plus extra melted butter for brushing, where do we use the 1/2 cup butter? Thanks.
Hi Ela, thanks for catching that! 1/4 C. goes in with the milk/sugar mixture, 1/4 C. is spread on the dough when rolling and shaping into crescents. Recipe updated! =)
Looks yummy! What kind of flour do you use? Thanks for sharing!!
Thanks Lindsey! Just regular unbleached white flour…usually a generic brand =)
These were fabulous!!! I didn’t have your website open and forgot how long to keep them in the oven so I just kept a close eye on them and when I thought they were done, the bottoms were slightly burnt. But oh my goodness was this dough so easy to work with and delicious as well. They were a hit! Thank you for the recipe!
Thanks, Hannah! So glad you liked them! It really is a fail proof dough =)
Forgive me, I’m a bit unclear. Is “T.” meant to be a tsp or a tbsp?
Hi Charlene!
A capital T is always a tablespoon, and a lowercase t is a teaspoon 🙂
Hi! I am an expat living in China, and I am enjoying learning how to cook so many things from scratch that I can’t buy here (like store bought dough). These rolls look delicious! Approximately, how long does the second rise usually take? I was thinking of rolling some ham and cheese or pepperoni and mozzarella up in these before I bake them for an appetizer to take to a party. Do you think the second rise time would be too long to leave the meat out of the fridge? Thanks!
Thank you Kristy! It really depends on how warm the area you proof them in is. I let mine rise in a very warm warming drawer, so it usually only takes about 30 minutes for them to rise the second time. For an average time, though, I would guess about 45 minutes to an hour. I think that the meat and cheese would be fine, especially since you will be baking it at a high heat anyway. That sounds so good! I think I will have to try the pepperoni and mozzarella next time!
These look absolutely divine! Can’t wait to try them!
Thanks Emily! Hope you get to soon!
I’m wondering if it’s safe to double your recipe….no need for 1/2 egg…plus I’m looking to make them for a big, hungry crowd.
Hi Kim, Yes! I double the recipe all the time when I need to feed a big crowd(the recipe you see is technically a half recipe anyway because more than 2 dozen rolls is too much for just my little family, usually). Double away!
These rolls are BEAUTIFUL! Is there anyway you could do a step by step on how you roll them out and shape them?
Thanks Chrissy! If I get the time I would like to, but if you follow the link to the original recipe at the bottom of the recipe, they have a picture tutorial.
Hi
This recipe sounds great. I love bread in general. My family can only eat about 6 or 8 of these. Can I freeze the rest? Or do you have any suggestions for the rest?
Any advice would be greatly appreciated.
Thank you, Michele
Hi Michele! I think you could freeze any of these rolls that you didn’t eat. It sure would be easy to pull a few out when you need them in a pinch!
I just made these for a pre-thanksgiving run. So so so so so good. Amazing. Lovely. Fluffy. Wonderful. I’ll keep going if you’d like. I just found my forever roll. And they were easy to make. Thanks Kayley!
Thanks Katie! They are my favorite roll ever! So glad you liked them! And loved your comment!
Made these for my thanksgiving meal tonight and they were a HUGE hit. My picky eater of a husband and my brother both raved. My brother is asking me to teach him how to make them.
That’s awesome, Erica! I’m so glad everyone loved them and love that your brother wants to learn how to make them =)
hi! may I know whether I can freeze the dough and at which step or shall i freeze after baking? My family couldn’t finish that many.
Hi Cherilyn! I freeze the rolls I don’t need right after baking to use for another time. It’s so nice to have fresh baked rolls on hand!
Best rolls I have ever made and tasted. Seriously one of the easiest recipes I’ve come across. I see no need to continue looking for a recipe because this one hits the mark in every way possible. Thank you so much for posting.
what can I use in place of the egg? have egg allergy
You are calling for 1/2 T. salt and 1T.yeast that seems like alot of salt and yeast.
It’s accurate. I make these ALL the time and they always turn out perfectly 🙂
I am very excited to try this roll recipe, but also interested to know about the kitchen McCabe name. My maiden name is McCabe
We’re having Easter dinner at our house, right after church. Would they be rising for too long if I made these up before church? We’d be gone for about two hours. Just wanting to wait to bake them until we get home.