Let’s get right down to business.
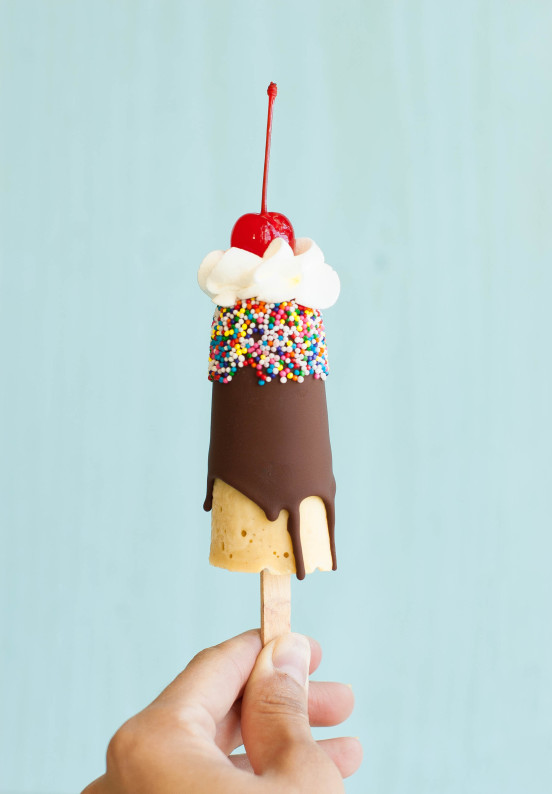
I took a banana split and stuck the whole thing on a popsicle stick.
Well, in a less messy way, that is.
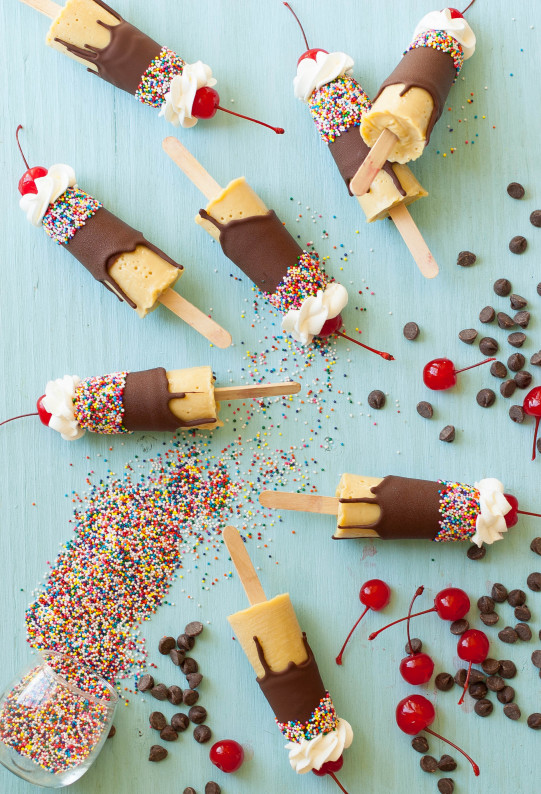
Starting out with a homemade banana pudding that uses fresh bananas and is so easy to whip up, I made unbelievably creamy, super delicious(and this is coming from someone who hates bananas) banana pudding pops that were frozen in a mold.
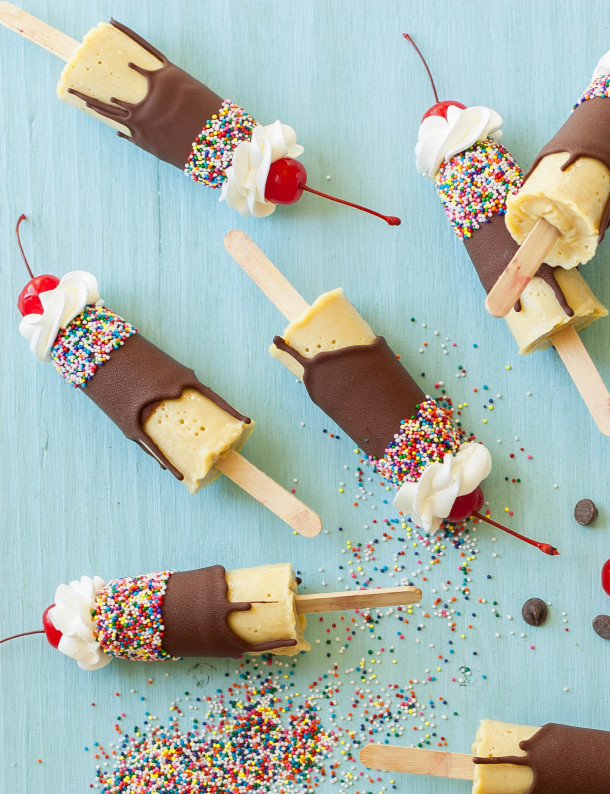
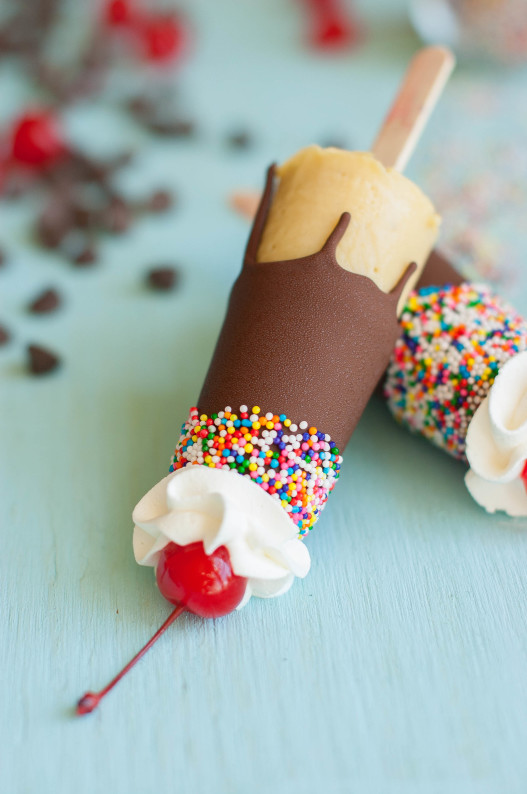
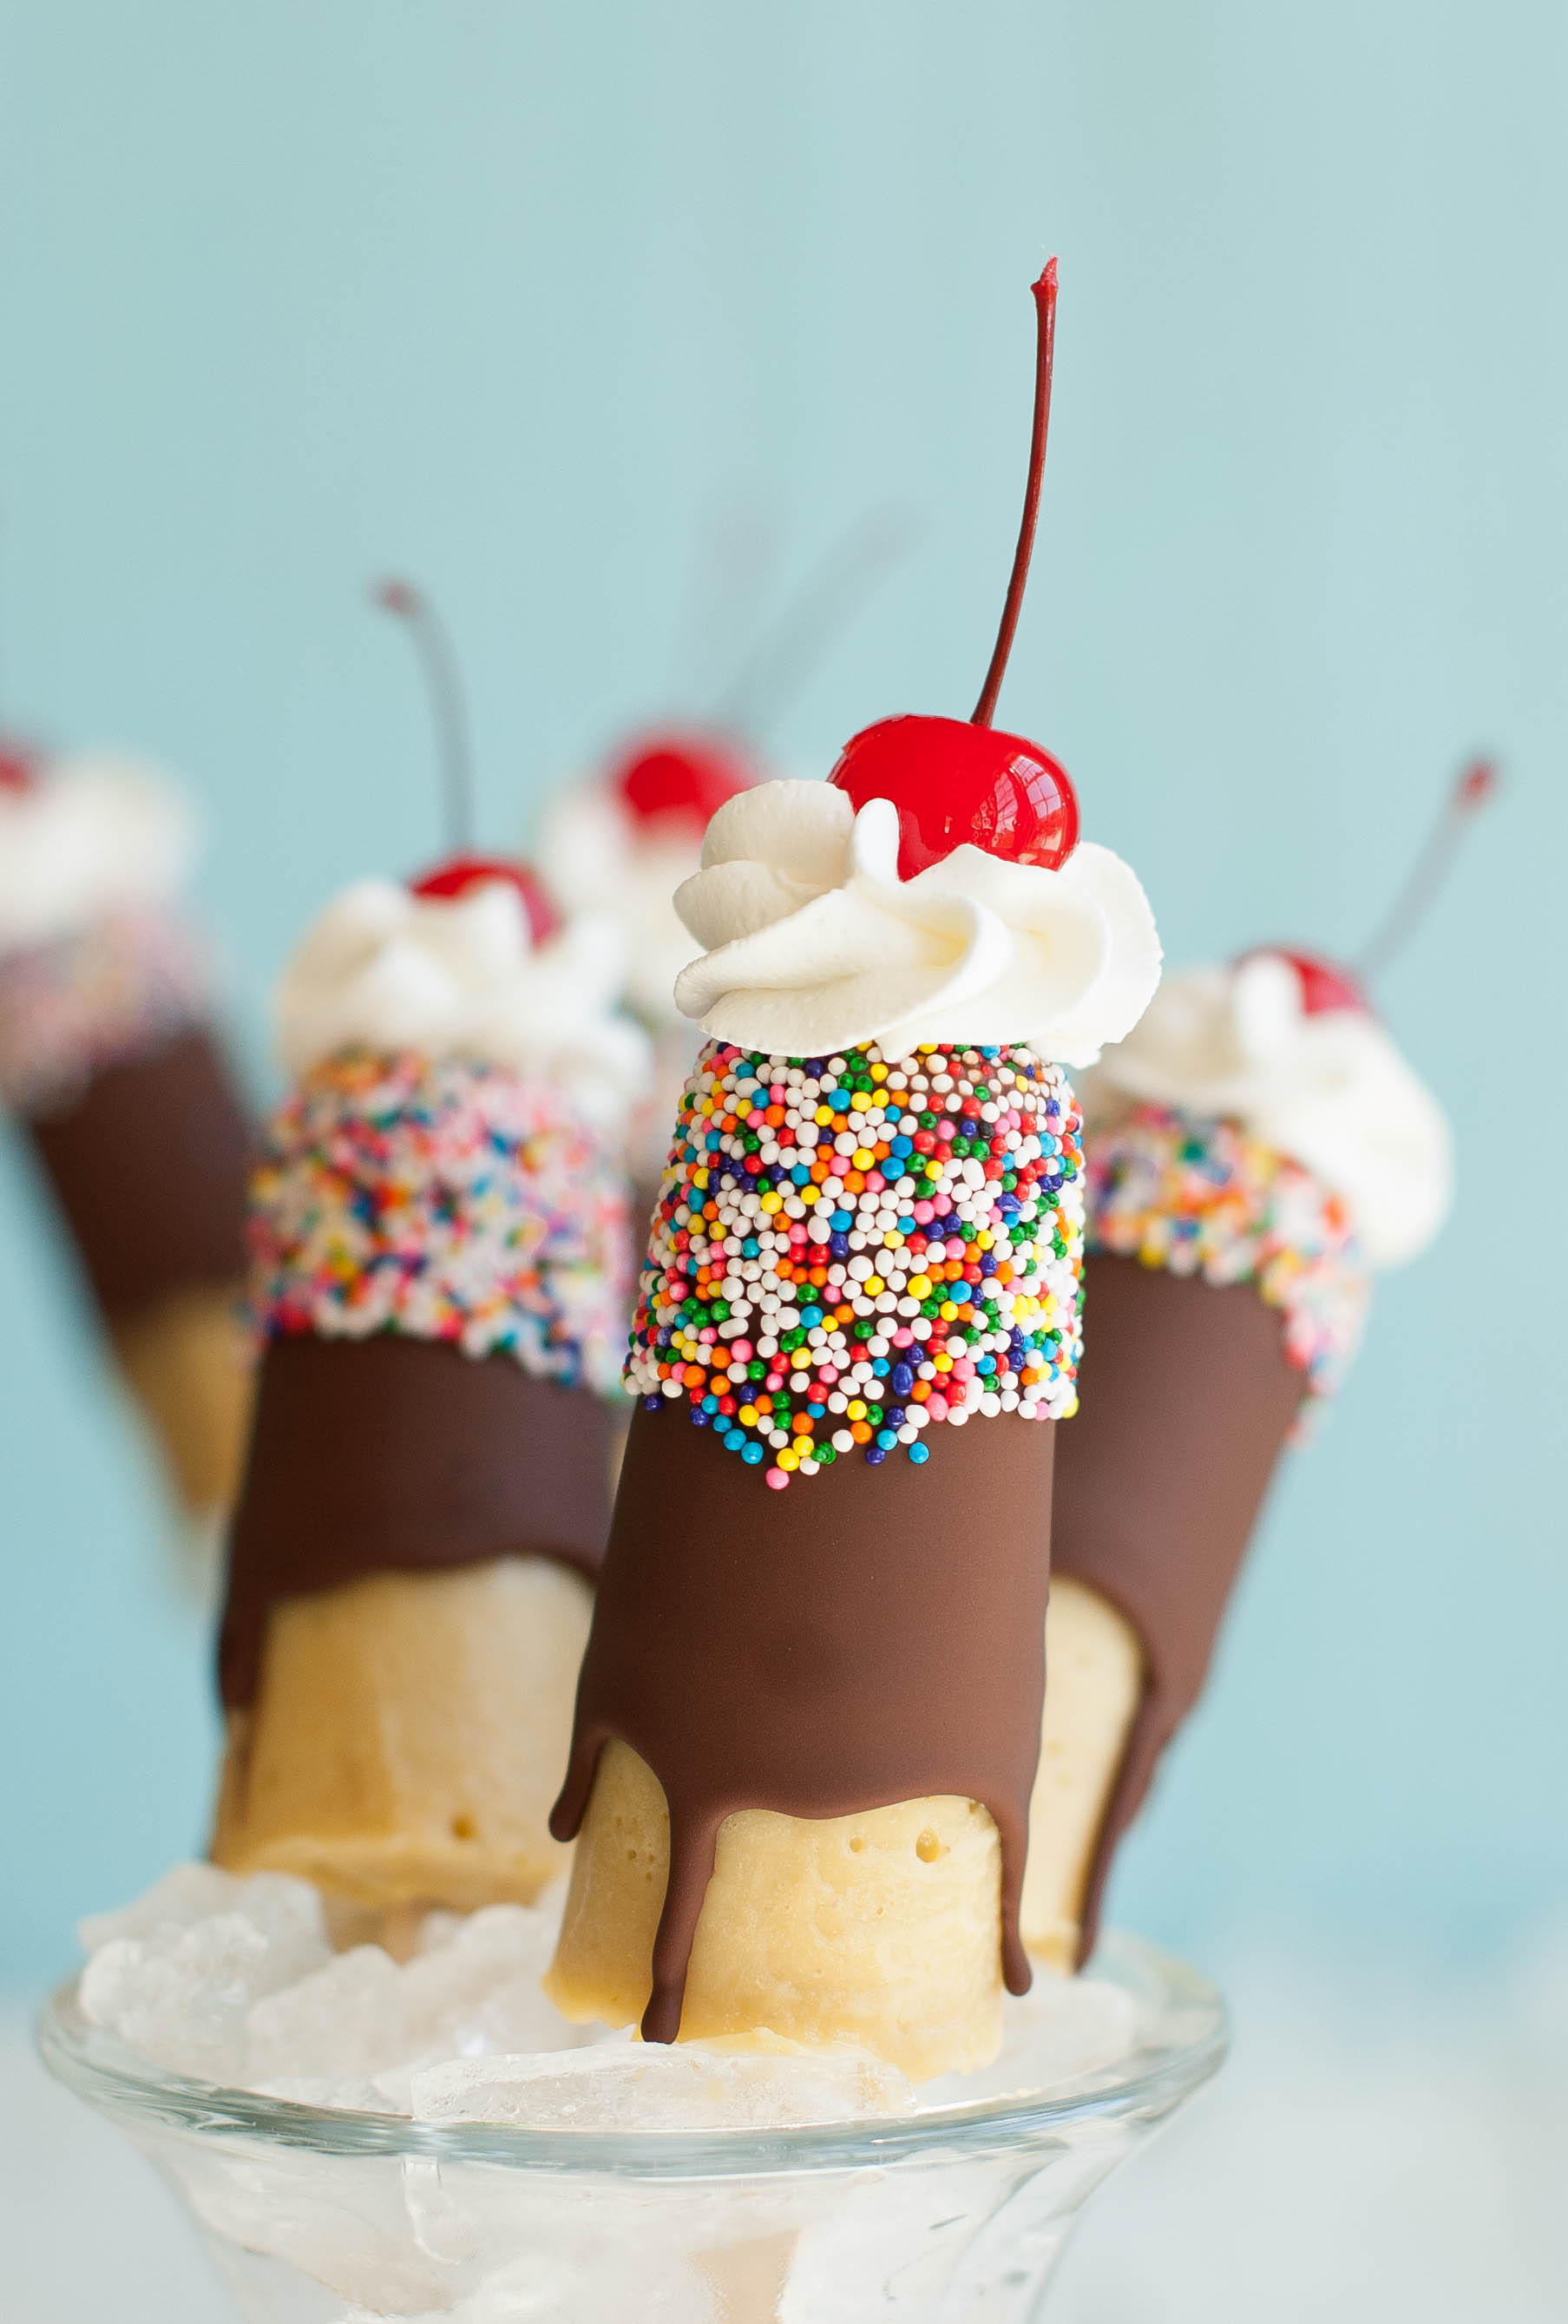
I un-molded them and dipped them in a little homemade magic shell(one of the BEST things in the world, in my opinion) and then dipped them in a bowl of sprinkles. Then a little swirl of whipped cream was added to the top and a glossy maraschino cherry crowned these little darlings.
Viola. We have:
BANANA SPLIT PUDDING POPS
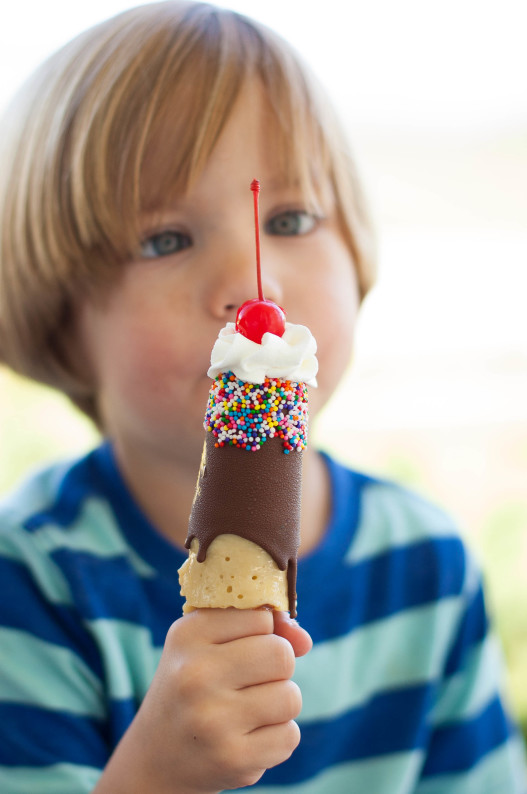
So good, you’ll go cross-eyed.
If I ever sell these, I’m putting this picture of my son on the box with that as the tag line.
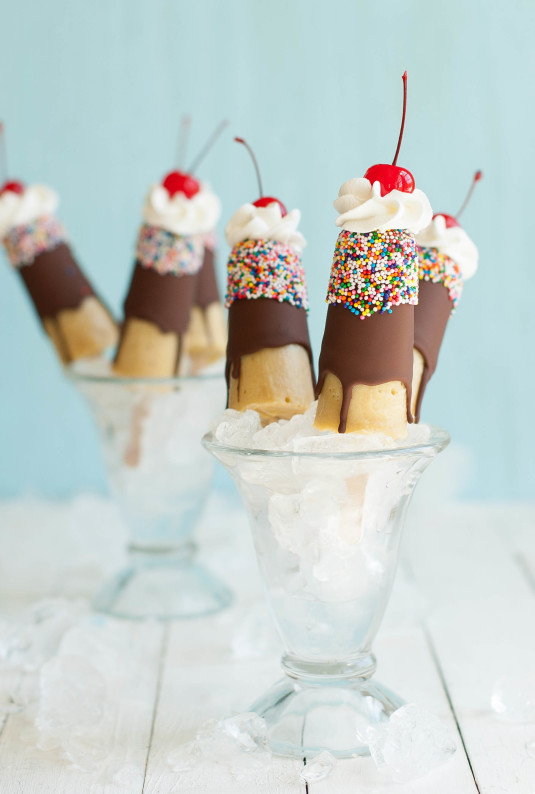
Now, these might sound a tad bit complicated. I was surprised to find out how complicated they weren’t, when I made them. It all came together quite quickly and easily. Once the banana pudding pops are frozen it’s a pretty quick decorating stint from there.
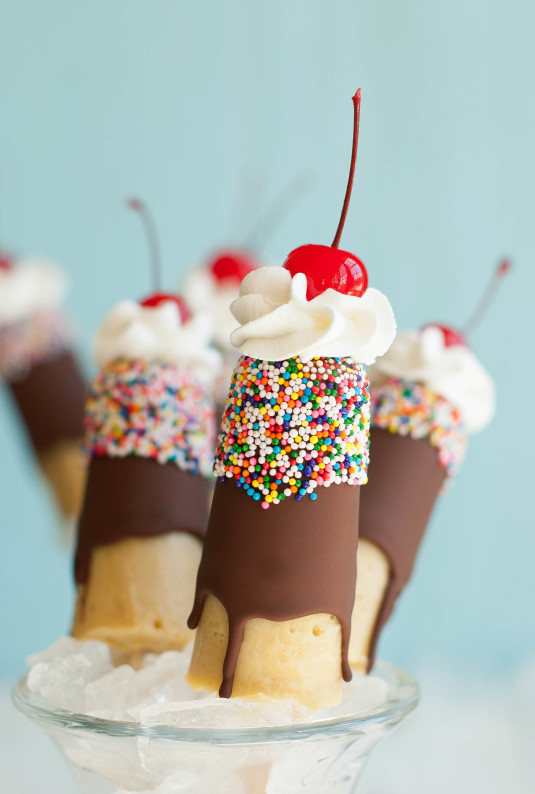
If you were feeling a bit lazy and umm…anti-homemade, you could always dip these in store bought magic shell and use a can of whipped cream to top them. But the homemade way was no biggie. Really.
KITCHEN HACK OF THE DAY:
When dipping something in chocolate, keep the chocolate in a very narrow container. If you keep the melted chocolate in a bowl, you’re going to have to really work to get everything coated in chocolate, while repeatedly scraping the chocolate off of the sides and back into the center. If it’s in a tall narrow container, like a liquid measuring cup or a drinking cup, it’s an easy single dip to get everything coated in one little move.

- ⅓ C. Sugar
- 2 C. Whole Milk
- ⅓ C. Sugar
- 2½ T. Cornstarch
- 2 Egg Yolks
- 1 Egg
- ½ T. Vanilla
- 1 large Banana
- 12 wooden popsicle sticks
- 1 C. Dark Chocolate Chips
- ¼ C. Coconut Oil
- ¼ C. Sprinkles
- ¾ C. lightly sweetened Whipped Cream
- 12 Maraschino Cherries
- Place the ⅓ C. sugar and milk in a sauce pan. Stirring until the sugar is dissolved, bring to a boil and remove from heat.
- In a mixing bowl, combine the other ⅓ C. sugar and cornstarch, whisking together. Add the egg and egg yolk and combine.
- Pour ½ C. of the hot milk into the egg mixture and whisk in quickly, to temper. Pour the rest of the hot milk in and whisk to combine. Pour the mixture back into the saucepan and bring to a boil on medium heat, whisking constantly.
- When the mixture reaches a boil, let it cook for 30 seconds more while constantly whisking, then remove from heat.
- Add the vanilla and banana to a blender and pour the pudding over it. Puree until the banana is smooth and well blended into the pudding.
- Divide the pudding between 12 popsicle molds and insert wooden popsicle sticks into the middle of the pudding.
- Freeze for at least 4 hours.
- Clear a space in the freezer where you can set the popsicles, inverted, in between the rungs.
- Melt the chocolate and coconut together in the microwave in a small bowl, for about 1 minute. Whisk together until smooth. Place the chocolate mixture in a tall narrow container, like a plastic drinking cup.
- Unmold the popsicles using hot water. Dip the popsicles halfway into the melted chocolate, then turn them right side up, allowing the excess chocolate to drip down the sides as is hardens. Working quickly, dip just the top inch of the popsicle in a small bowl of sprinkles.
- Place the chocolate dipped popsicles right side up, sitting on the rungs of your freezer shelf.
- When all the pops have been dipped, pipe a swirling of whipped cream on top of each one and top the cream with a maraschino cherry.
- Make sure to dry off the cherries first, before topping.
- Freeze again until the whipped cream is hard.


 Based on 15 Review(s)
These are so great Kayley, love the pictures too!!!
Thank You Matt! =)
I love every single little thing about this post, Kayley. The recipe, the photos, the everything. Sharing immediately!
Thank you so much, Justine! =)
This is such a gorgeous pop. It’s soo reminds me of a banana split
Thank you Rochelle!!
These are everything! Love the whipped cream on top too, more popsicles could use a whipped cream crown 🙂
Thank you Joyce!! You are right, more whipped cream needs to happen on popsicles!
You’re killing me with these, Kayley! Like I said earlier, I’d like to live at your house simply for the desserts. Brilliant!
Haha, Thanks Sarah! And I’d like to have you live here so that they wouldn’t go to waste! And then you’d need a taste tester for all of your yummy dishes, right?
These look divine, and your kids are ADORABLE 😀
Thank you so much, Tina!!
Umm, HELLO! LOVE these, so amazingly beautiful and I am sure those results are totally worth any extra effort. I want these in my freezer right now!
Thank you Rachel!! The extra effort is totally worth it, though I wish you had a few in your freezer without having to do anything! 😉
Oh what a lovely ice pop – everything about it is adorable and I can’t wait to make some myself. It is so pretty – may I please do a feature post of it on my Facebook business page?
Thank you Patricia! Of course you could do a feature of it! I would be honored! Just link back for the recipe =)
Thank you so kindly – I am doing the post now and will make sure to link to the recipe and your FB page too!
I’m obsessed with the homemade magic shell too! Seriously, these are the cutest popsicles I’ve ever seen. You’re pretty much a genius!
Haha, well thank you, my friend! You are so sweet! Homemade magic shell power!
This may be the greatest kid invention (I include myself) of all time!
Haha, Thank you so much, Catherine!
Hi! I am allergic to coconut – is there a substitute you would recommend for the coconut oil? Thanks!
Hi JW! You could substitute the coconut oil for butter 🙂
Where has this dessert been all my life?! YUM.
Holy cow. I MUST MAKE THESE. They are absolutely gorgeous and look so irresistible!
Thank you so much, Denisse!
How adorable are these?! What a great idea! Love them!