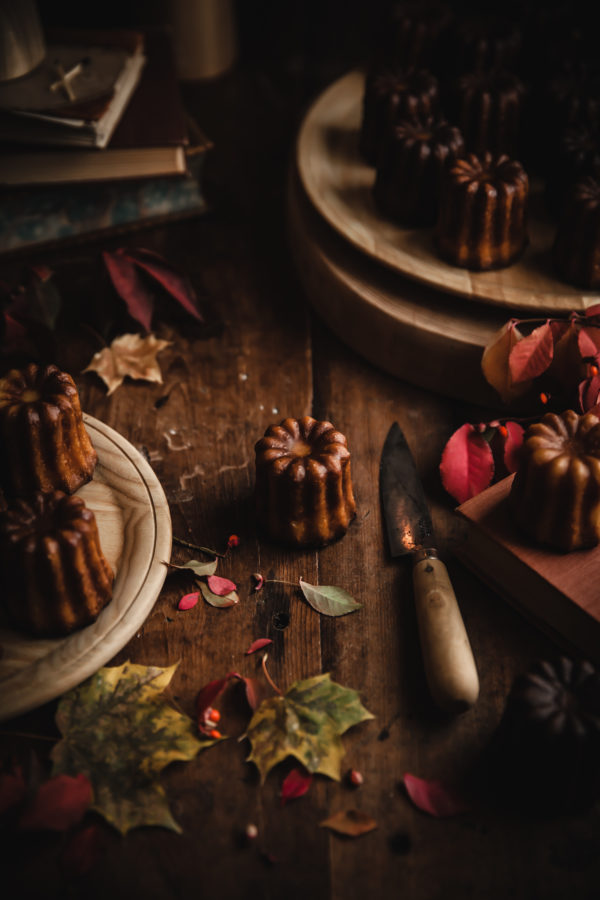
Would you believe that the first time I ever tried a canelé was a few months back, thanks to the frozen isle at Trader Joe’s? It’s sad, but true. I certainly knew of caneles, but had never had the opportunity to try them. That’s the magic of the modern grocery store, I guess.
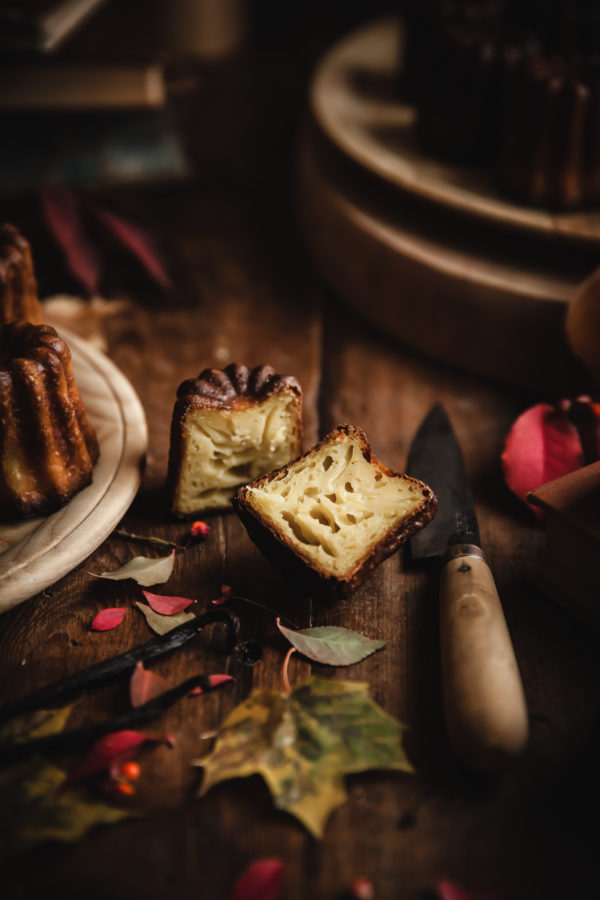
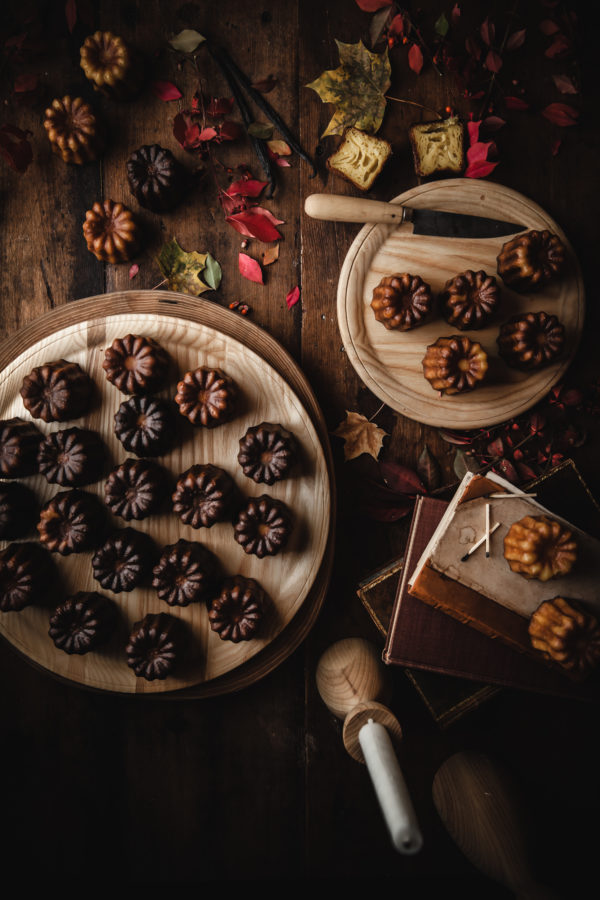
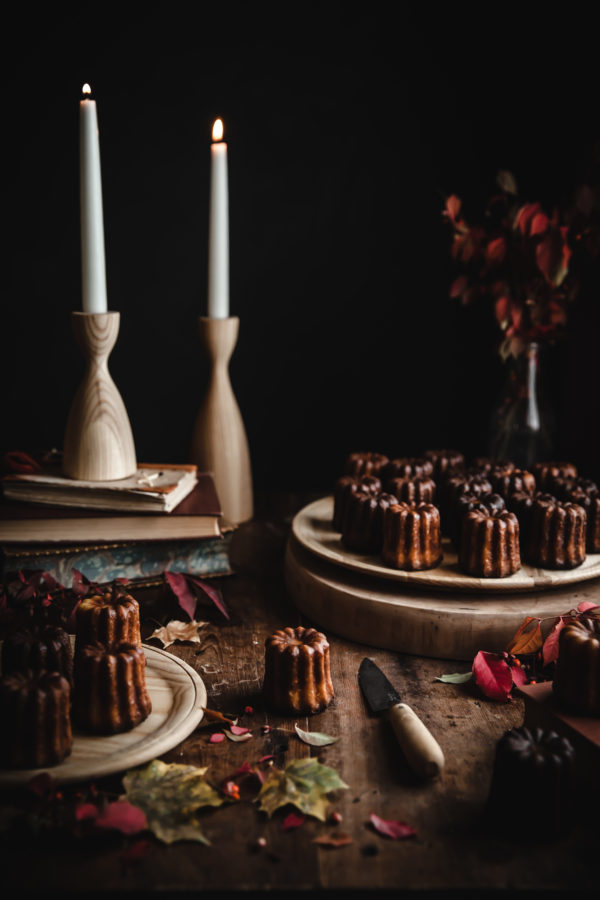
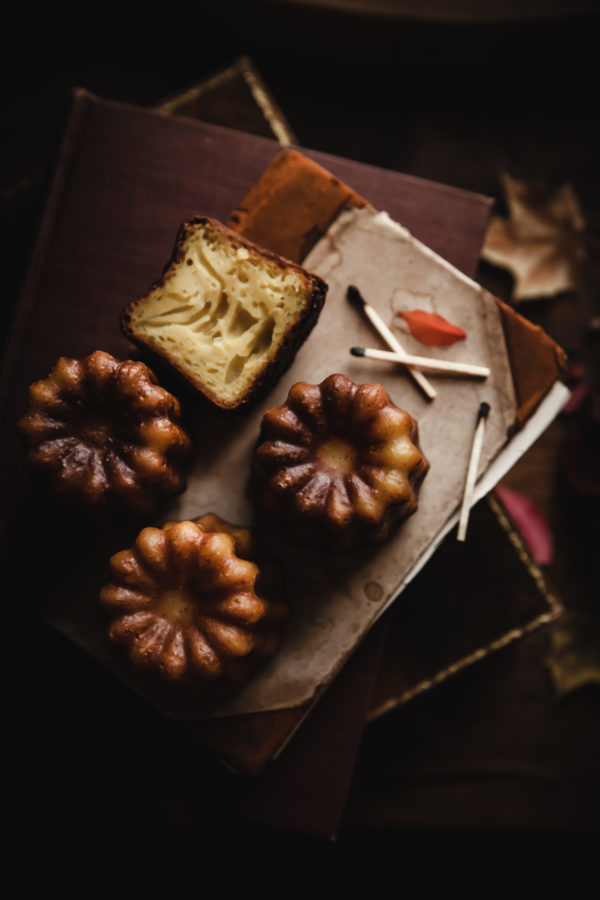
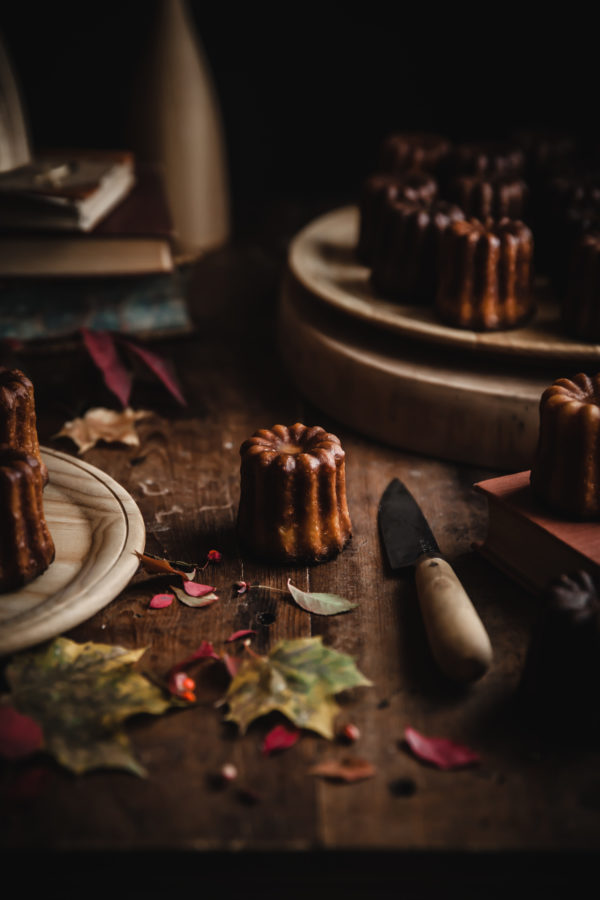
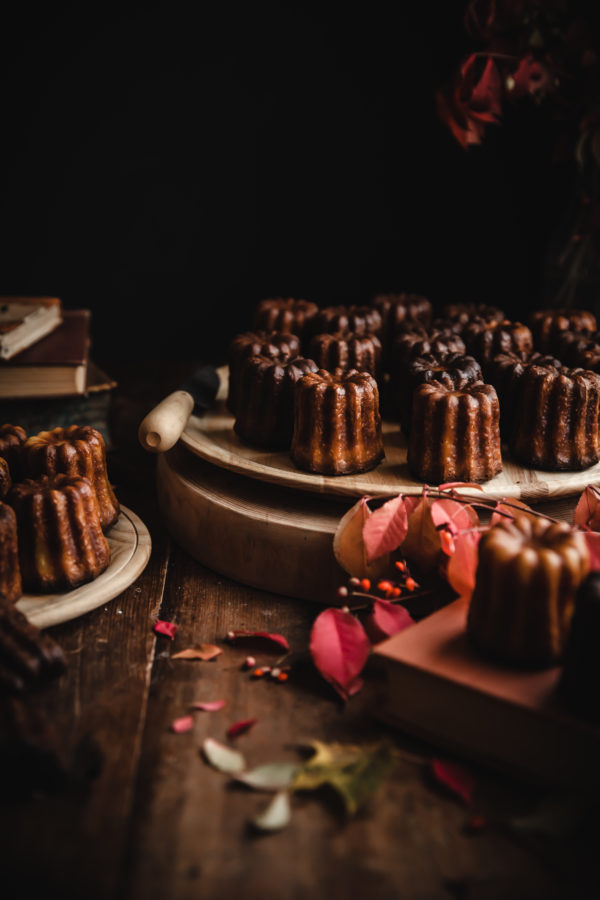
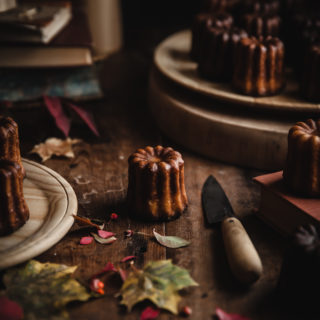
Anyway, one bite and I was a smitten kitten. They had a deeply caramelized, almost crunchy/chewy exterior with this beautiful sort of matte sheen which intensely highlighted the firm yet creamy, custard inside. I immediately ordered myself a set of molds and began scouring the internet for every tip I could find on making these famously difficult, technical cakes.
Below you will find a series of tips on baking caneles compiled from my research on all the best secrets for making great canelé, along with my own findings as I baked my own little bites of French heaven.
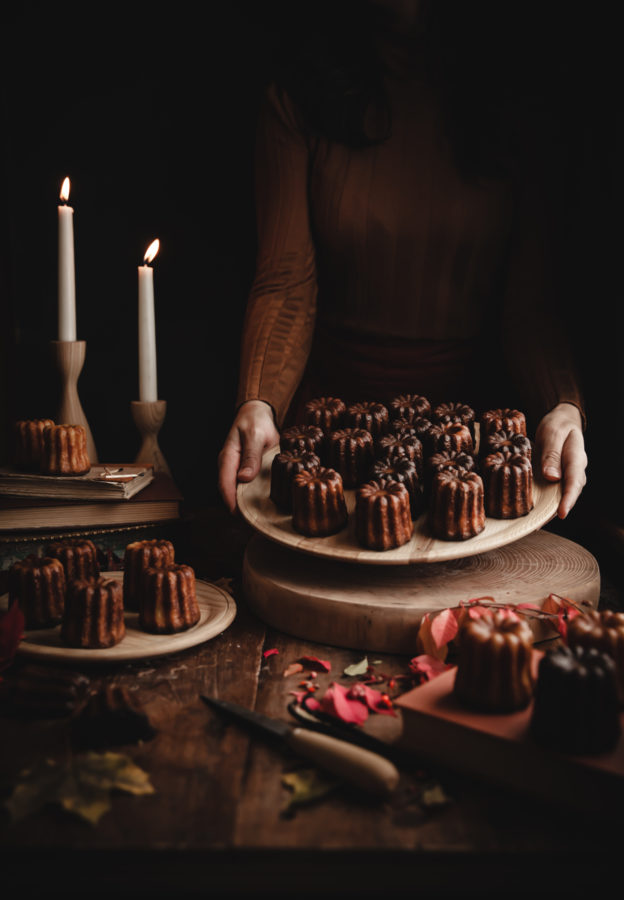
~ Tips for baking a perfect Canele ~
*Let your canelé batter rest in the fridge for an absolute minimum of 24 hours. The flavor and texture improve dramatically with a little age. I’ve tested many different resting times and prefer the flavor and texture of a canelé whos batter has rested for 36 hours. 48 hours is considered the standard for perfect canelé. Test it out for yourself and see what you think.
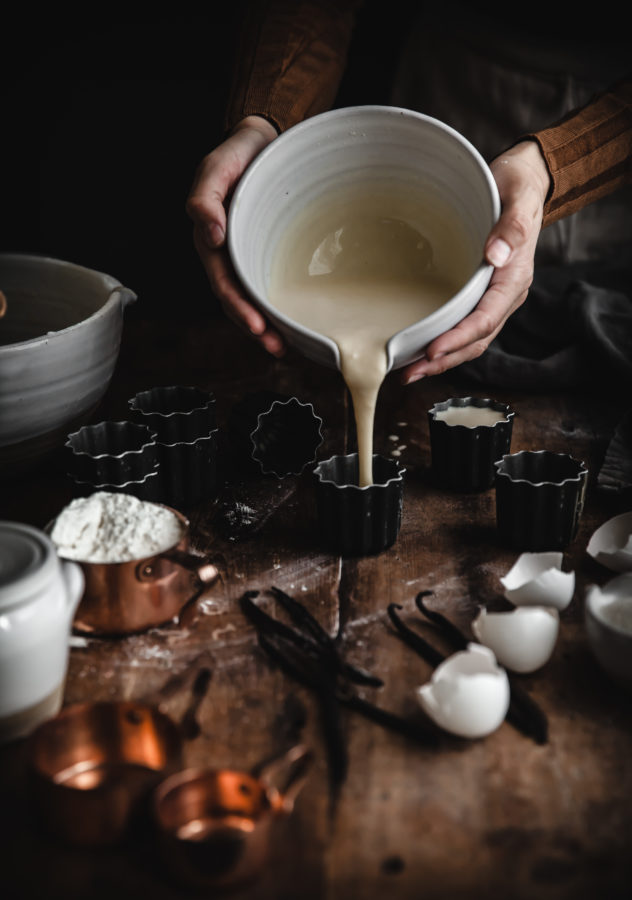
*Make sure your molds are either copper or metal (I use these molds and they’ve worked out marvelously well for me). Avoid the silicone canelé molds. They make it more difficult to achieve the right caramelization on the outside of the pastries. Don’t attempt to use a single mold with multiple cavities. This will make coating them with beeswax and butter a nightmare. Use individual molds only.
*Don’t coat your molds with too thick a layer of beeswax/butter. If the layer is too thick, the mixture will pour out of your molds as the caneles bake and pool all over the baking sheet, making a bit of a nasty mess(guess how figured that one out). A very thin layer of coating will suffice.
*To get the right amount of coating on your molds, heat them first. I put mine in the oven for a few minutes as it’s preheating. When they are super hot I take a few out at a time and (wearing oven mits) fill one mold up to the top with the melted beeswax mixture. Then I pour that mold into another hot empty mold, moving to the next and next, until all molds are coated. The hot molds will make sure that only a thin coating of mixture sticks to the surface. If you pour the mixture into cool molds, the beeswax will quickly begin to firm up, leaving a thick coating, which you don’t want.
*Don’t over-fill the canelé molds with the batter. This can cause them to over expand in the initial baking phase, puffing over the top so that they can’t sink back in and properly brown later in the baking process. Filling up to 1 cm from the top should be full enough.
*The first time you make caneles, test a few out by baking them one by one. Everyone’s oven is different and with caneles, a slight variation in temperature or time left in the oven can make a HUGE difference. Coat your molds. Then fill one mold with batter and bake it at 550 degrees for 9 minutes, reduce the heat to 375 degrees and bake for another 45-50 minutes, or until the top is a deep, dark, golden brown. Remove from the oven and invert, removing the mold. Look at the color. It’s those first 9-11 minutes that determine the outer color of the caneles. If they are a blond color, they likely need another 60 to 90 seconds at 550. If they are a golden brown (but not a deep golden brown – and I’m talking about 2 shades away from black here), they likely need another 30-60 seconds at 550. Its a bit time consuming, but testing out different times for those few minutes at 550 will help you figure out exactly how long you need to bake your caneles for – timing is everything with these little cakes.
*Following the last tip – don’t take them out of the oven too early! The top of the caneles need to be a very dark brown color before they are ready to be removed. You don’t want them to be too dark, not black. The outside of the canelé should be a deeply caramelized dark brown, but the inside should be a creamy, golden custard. If the caneles are too light in color the sides will shrink in and collapse as they cool, a sign of an undercooked canelé. Don’t be afraid of the dark! Its what turns out a spectacular canelé.
- FOR THE CANELE BATTER:
- 500 ml Whole Milk, cold
- 2 Vanilla Beans (Madagascan, if you can get them)
- 250 grams Raw Cane Sugar (do not use a coarse grained sugar)
- 100 grams All-purpose Flour
- 50 grams Butter, melted
- 2 large Eggs
- 2 Egg Yolks
- ¼ cup Rum
- TO COAT THE MOLDS:
- 40 grams Beeswax
- 60 grams Butter
- FOR THE CANELE BATTER:
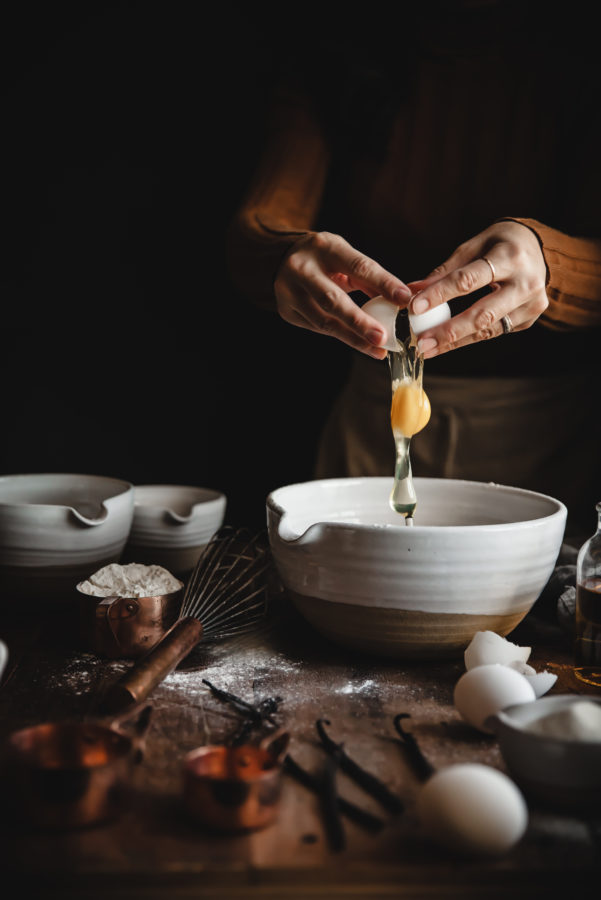
- Pour the milk into a saucepan. Slit the vanilla beans in half lengthwise and scrape out the seeds. Add the seeds and the cut vanilla beans to the milk. Place the saucepan over medium heat and bring to a simmer. Remove from heat and let sit for a few minutes.
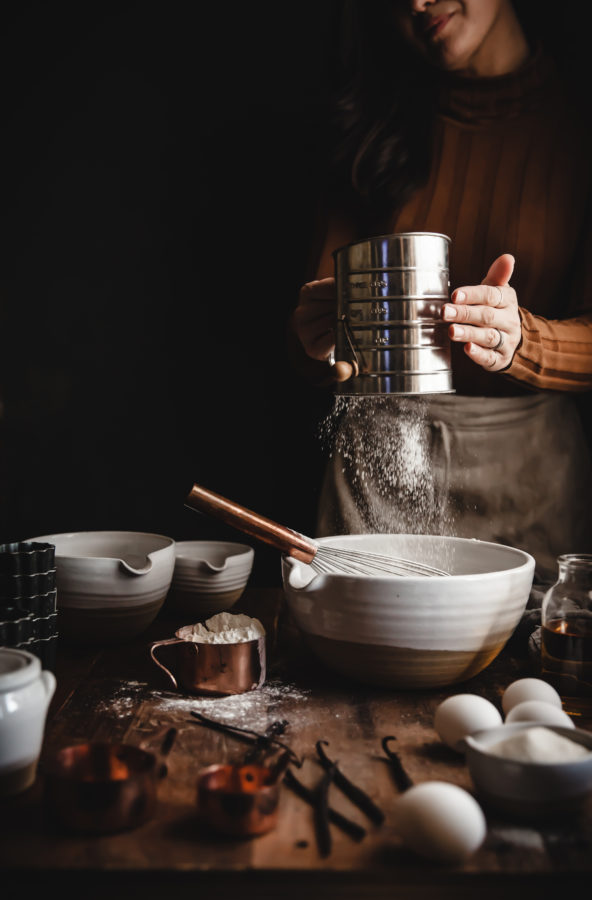
- In a mixing bowl, add the sugar, eggs, and egg yolks and whisk together. Add the melted butter and whisk until well combined.
- Remove the vanilla beans from the milk. Add ¼ cup of the milk mixture (milk should still be hot - this step tempers the eggs and creates the correct consistency of custard) to the egg mixture and whisk together. Add the flour to the mixture and whisk in until smooth and lump free. Slowly whisk in the remaining milk. Whisk in the rum. The batter should be smooth and quite runny.
- Cover the canele batter and refrigerate for a MINIMUM for 24 hours. The batter needs to sit to develop the proper depth of flavor and correct texture. A 48 hour rest time is recommended. I have baked caneles after a 24 hour, 36 hour, 48 hour, and 60 hour rest and I personally prefered the caneles whos batter had sat for 36 hours. Test yours out, if you like, to find out what you like best. The batter can sit in the fridge for up to 4 days.
- TO COAT THE MOLDS:
- Coat molds just before baking.
- Melt the beeswax and butter together, stirring to combine.
- Heat the molds in the oven for a few minutes as it's preheating. When they are super hot, take a few out at a time and (wearing oven mits) fill one mold up to the top with the melted beeswax mixture. Then pour that mold into another hot empty mold, moving to the next and next, until all molds are coated. The hot molds will make sure that only a thin coating of mixture sticks to the surface. If you pour the mixture into cool molds, the beeswax will quickly begin to firm up, leaving a thick coating, which you don't want.
- TO BAKE THE CANELES:
- Preheat the oven to 550 degrees. Line a baking sheet with parchment paper (the beeswax coating can run down the sides of the molds while baking and can be difficult to remove from a bare sheet surface). Coat molds as instruced in above. Place the coated molds on the lined baking sheet.
- Remove the canele batter from the fridge. Whisk the batter well for 2 minutes.
- Fill the prepared molds with batter to 1 cm from the top of the mold.
- Place the caneles in the preheated oven and bake for precisely 10 minutes. At 10 minutes, reduce the oven temperature to 375 degrees and continue to bake the caneles for another 45-50 minutes. *see notes above the recipe for details regarding baking times as it can vary from oven to oven.
- Remove caneles from the oven. Working quickly, invert the caneles onto a cooling rack and remove the molds. As long as you do this as soon as they come out of the oven (and assuming the molds have been properlly coated), the caneles should simply slip right out of the molds.
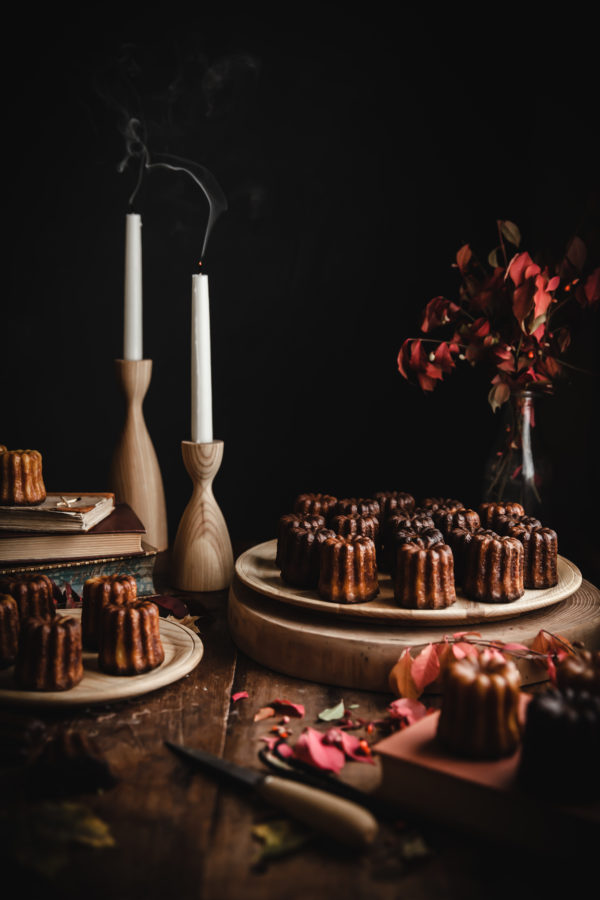
- Let cool. Caneles are best eaten on the same day they are made, and at room temperature. Since caneles are so time consuming and technical to prepare, I like to make a large batch and freeze a few dozen canele as soon as they have cooled down. They thaw quickly and make a really lovely treat when you need something special( or if you just want something spectacular, just because. That's usually my excuse).
Recipe via ifoodblogger.com, based off of the original by Pierre Herme
I absolutely LOVE candles. When I purchased my molds, the only options were copper or silicone so I got the silicone and haven’t been very happy with the inconsistent results. So glad to find out aluminum molds are now available (and so much less expensive than copper). Awesome post!
Love all of your tips and gorgeous photos as always!