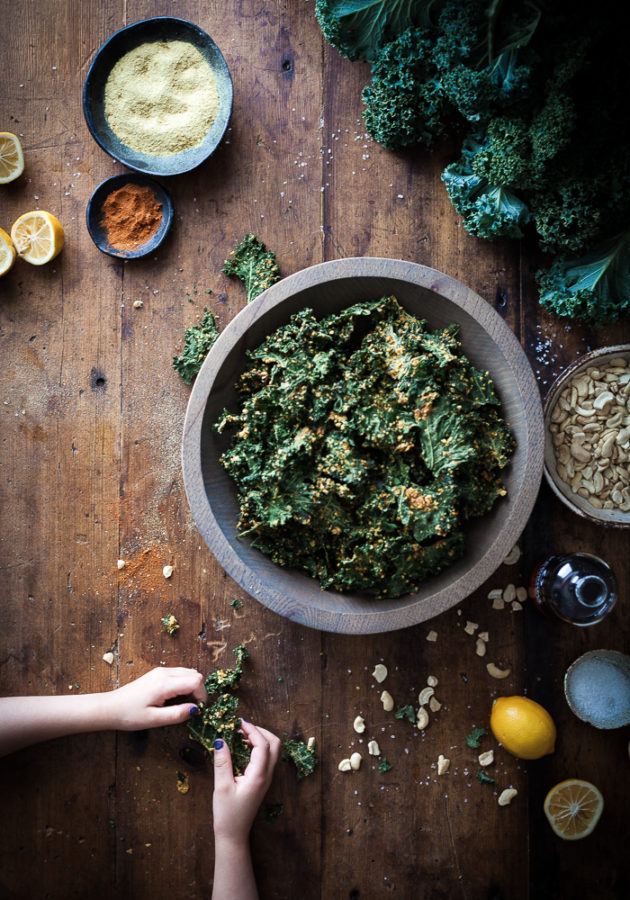
I first tried kale chips only about 9 months ago. I’m always a little late to the game, it seems. I stumbled upon a raw/whole foods café in my town’s arts district where I found little bags of these crunchy green wonders. I tried them and was instantly hooked. They were so much better than I thought they’d be. Karen, the owner of the café, even gave me the recipe which I have used a hundred times over at this point. The ingredients are simple, nutritious and SUPER flavorful.
Weirdly, I’ve always had a completely unfounded notion that store-bought kale chips must just be flipping amazing. But I’ve never bought them because who wants to pay 5 dollars for a handful of crunchy leaves? Uh, that is until a few weeks ago. I came across some kale chips at the grocery checkout and though “you know, I should give these a try. They’ve got to be really good. This way I can look at the ingredient list and make my own version!”. Yeah. They were AWFUL. Worst chips I have had in my entire lifetime. My kids found them revolting, and my husband willingly popped one in his mouth and then begged me to never buy these again. My homemade chips were a thousand times better.
That’s when I realized – these homemade kale chips were not only good, they were AMAZING. I fell in love with them even harder. So I make them at least once a week. Partly because I can eat a half gallon jar in one sitting and partly because my kids can eat a half gallon jar in one sitting – they looooove these chips. I love that they love these chips. Now I’m off to start another batch drying because I only have 2 jars left in my pantry, and that is unacceptable.

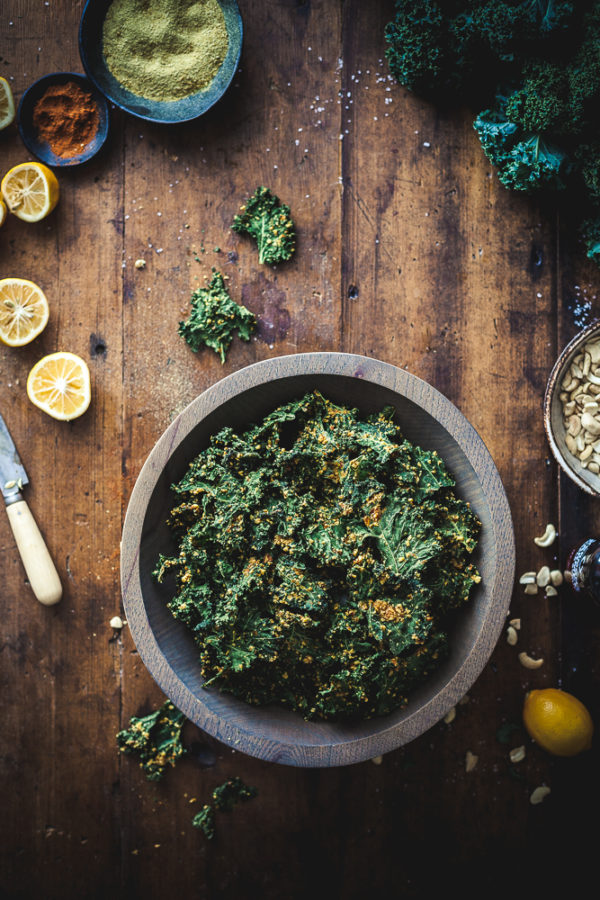
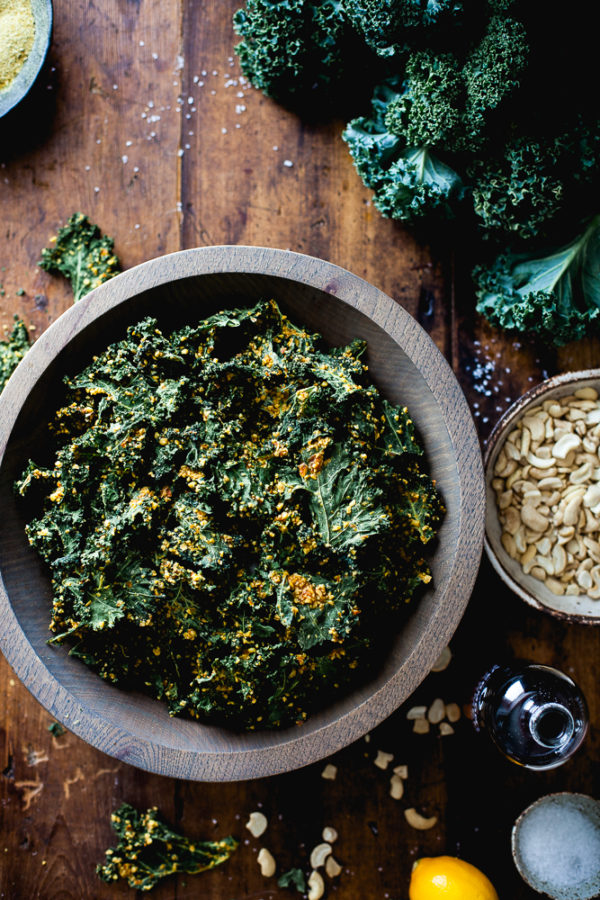
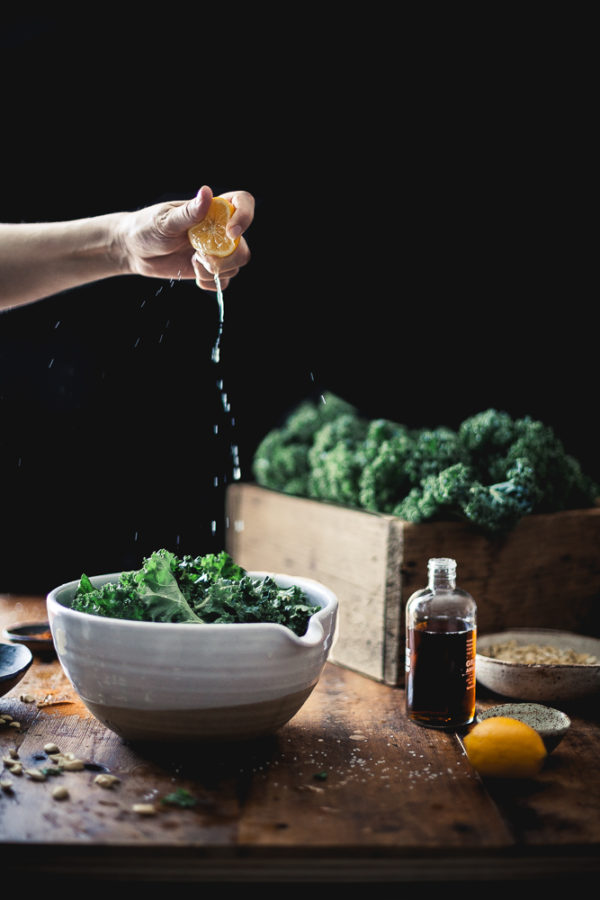
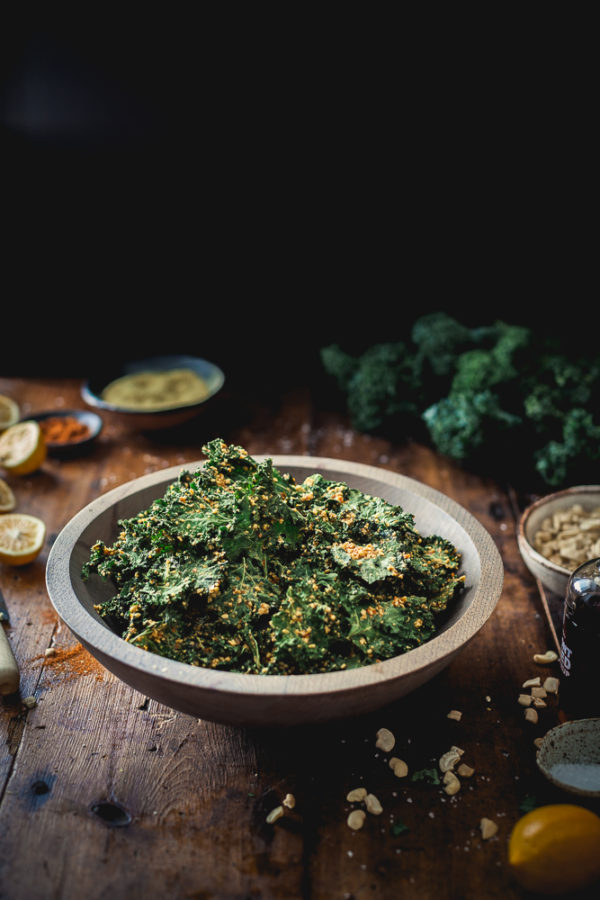
- 2 Bunches Curly Kale, stalks removed, washed and dried
- 1 Red Bell Pepper, seeds and stem removed, cut into large pieces
- 1 cup Cashews that have been soaked overnight, or at least 2 hours
- ½ cup Nutritional Yeast Flakes
- ½ tablespoon Sea Salt
- ¼ cup Maple Syrup
- 2 tablespoons Fresh Lemon Juice
- Pinch of Cayenne Pepper
- Tear the cleaned and de-stemmed kale into medium-sized pieces (about 3" in diameter, or smaller). Place in a very large bowl and set aside.
- Add the bell pepper and drained cashews to the bowl of a food processor. Process just until the peppers and cashews have been chopped into very small pieces (about the size of short-grain rice).
- Add the remaining ingredients to the processor and process just until everything is well combined - not too long, however, so that the cashews and peppers stay in small pieces.
- Pour the mixture over the prepared kale. Use your hands to coat the kale with the nut mixture, working over every piece to make sure its evenly coated on both sides.
- Lay the pieces of kale out on dehydrator trays so that they are close, but not touching. I don't have any special non-stick sheets for my dehydrator, I just place the kale directly onto the plastic trays and haven't had much problem with the chips sticking. I fill my dehydrator 6 trays full, but how full your dehydrator gets will really depend on it's size. You may need to do this in two rounds if you do not have enough space in which case, you would need to refrigerate the unused kale chips until the first batch is dehydrated.
- Dehydrate the chips on the low setting(or around 115 degrees) for at least 12 hours. I start mine in the early evening and let them run through the night, then remove them in the morning. The chips should be very dry and crunchy. Carefully remove from the trays and place in an airtight container to store.. I prefer to store them in glass half-gallon jars so that they are safe from being crushed 😉


Beautiful Recipe and gorgeous shot Kayley! I As always!! love kale chips and have been wanting to make my own too. I thought of using chickpea flour with it. You gave me the motivation to try it at home now 🙂
Honestly I don’t like the ones you get outside too, but I know that they can be damn tasty!
Your photos make me try it although I am not into kale 🙂 Thank you so much !
I’d love to make these, but I don’t have a dehydrater, could I make them in the oven? If so, what temp, and for how long?
I live in Uruguay…….
Thank you.
Hi Jay, you could place them in the oven at the very lowest setting. For me that is “warm”. I’m not sure how long, just check them after 3-4 hours and every 30 minutes after that. When they are crispy, they are ready =)
Don’t have a dehydrator – but may try it in the oven!