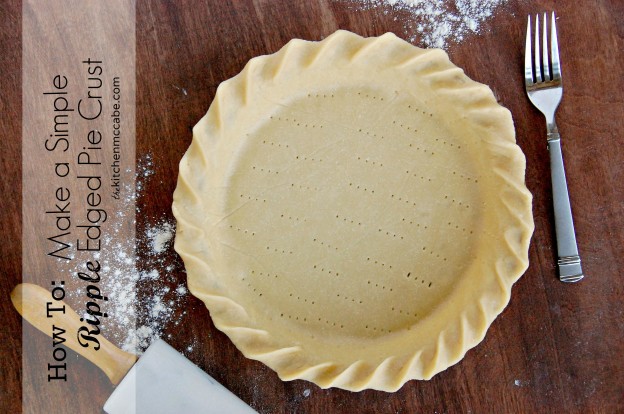
With Thanksgiving approaching and many of us preparing to get into “pie baking mode” I wanted to give you a little picture tutorial on how to make a simple pie crust that looks pretty without being too much hassle.
You really don’t have to go to a lot of trouble to get a beautiful crust!
This is my absolute favorite crust in the world and you’ll find the recipe for it at the end of the tutorial.
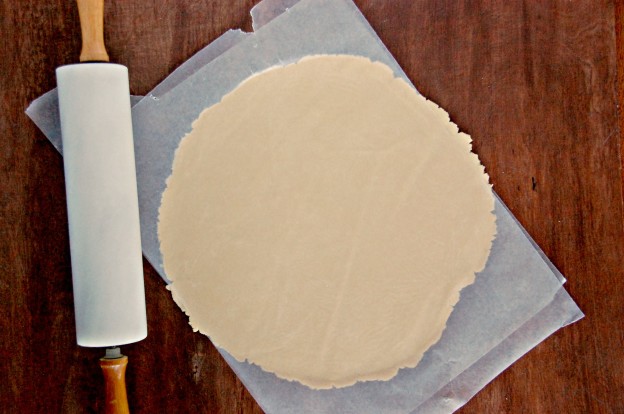
Start by rolling our your crust in between two sheets of waxed paper to a thinness of 1/4′-1/8″.
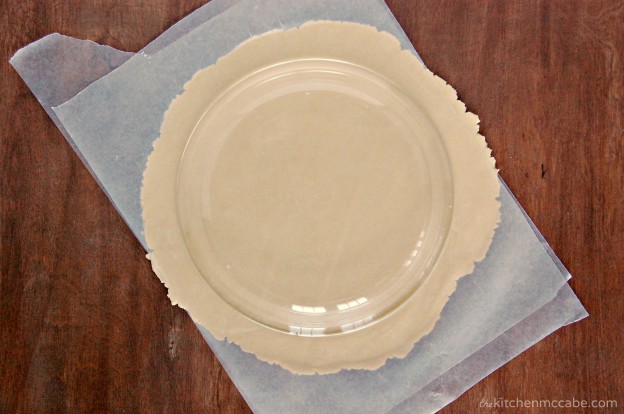
Roll the crust into a circle big enough that when you place your pie dish upside down on it, it still has almost an inch of dough outside of the dish.
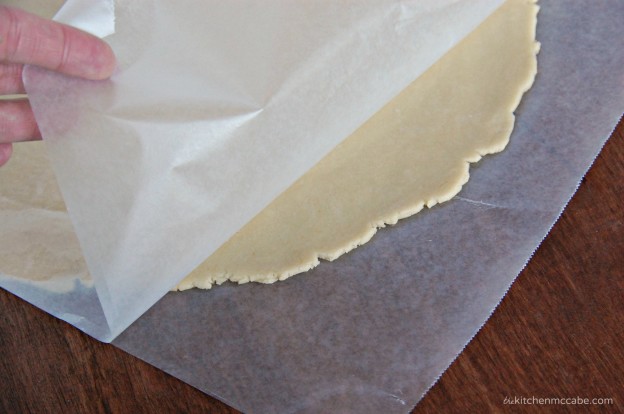
Gently peel off the top layer of waxed paper.
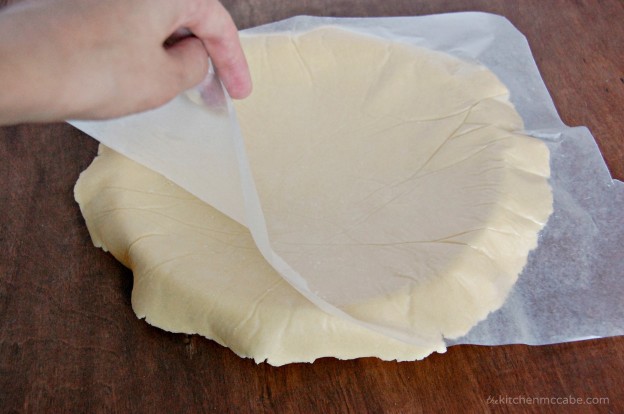
Flip the paperless side of the dough over on top of your pie dish(make sure it’s centered!) and gently peel of the waxed paper from the dough.
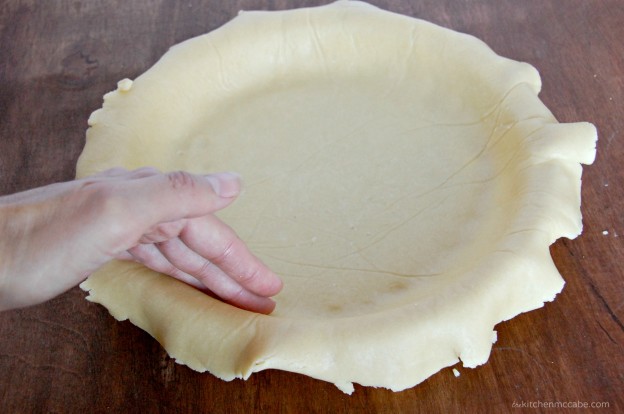
Carefully pat the dough down into the dish all the way around the inside.
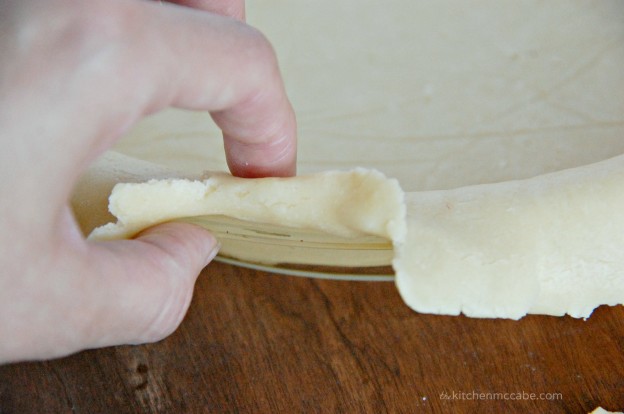
Taking a piece of dough that is hanging over the edge, carefully fold it up and over to the top rim of the pie dish and press down firmly with your fingertip.
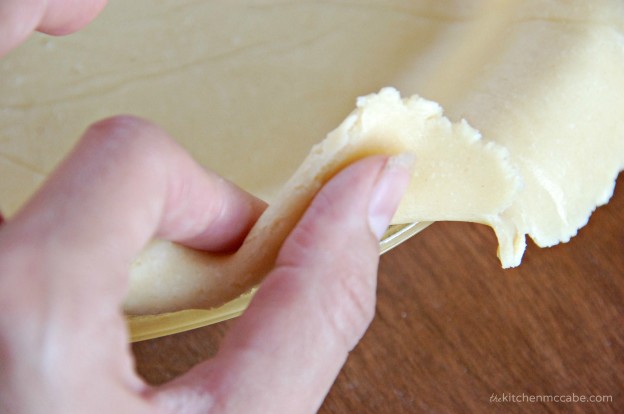
While keeping your left pointer finger on the dough that you just pressed down, use your other hand(not like pictured! I needed my right hand to take the pic!) to fold the edge that hangs down to the right up and over your left pointer finger.
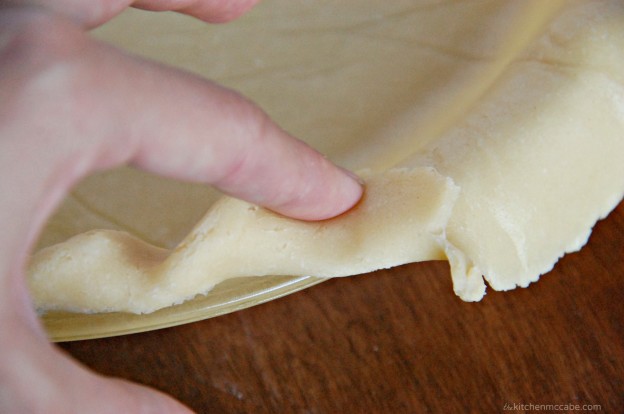
Firmly press the edge that you just folded over down.
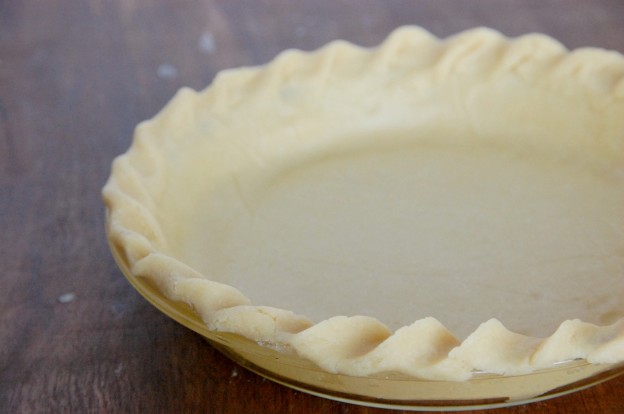
Continue to do this all the way around the edge of the pie crust.
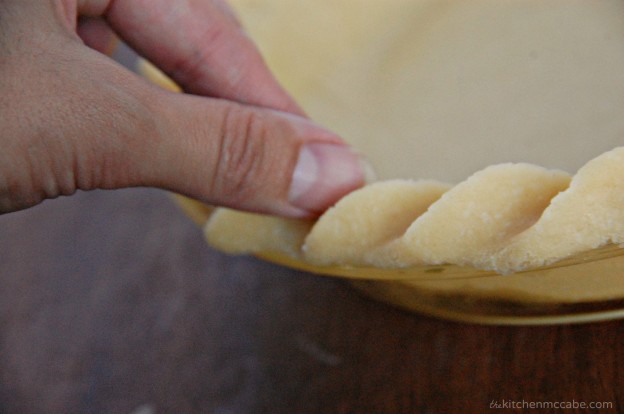
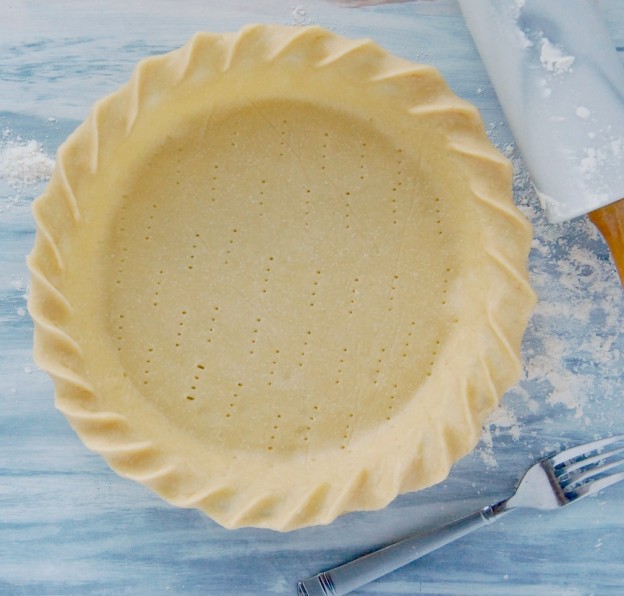
When you’ve finished rolling the crust, go around each roll and pinch it upwards with your left thumb and bent pointer finger(just like you would pinch something!) Move your hand up and down the roll as you pinch, making the roll pointed and flat on the sides.
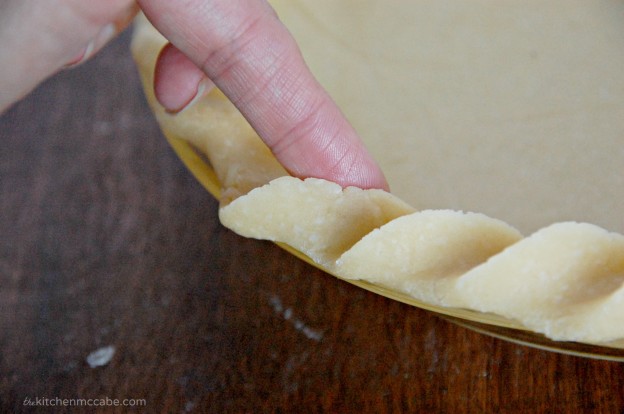
Smooth out the top of the sharp edge with your fingers.
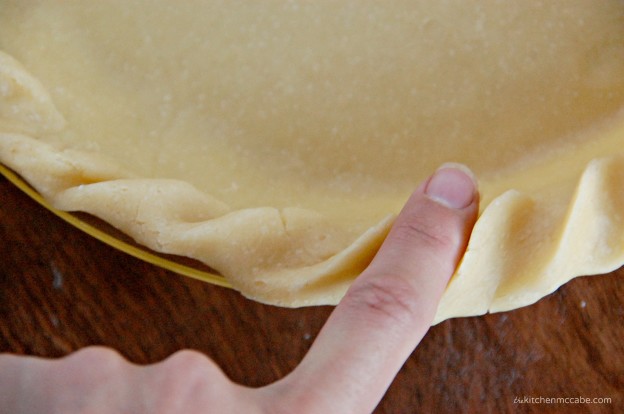
Smooth out the “valleys”, if you will, with your finger.
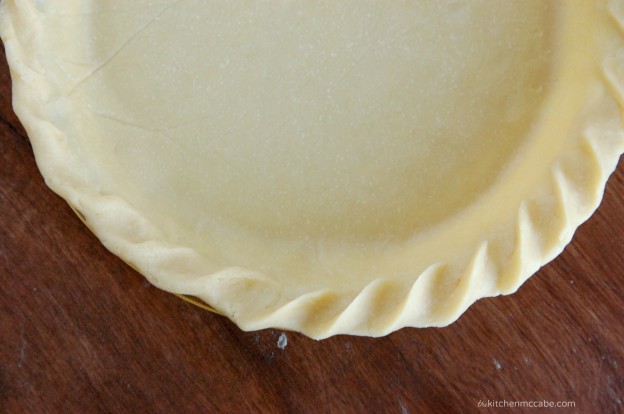
Continue this around the entire crust, pinching and smoothing.
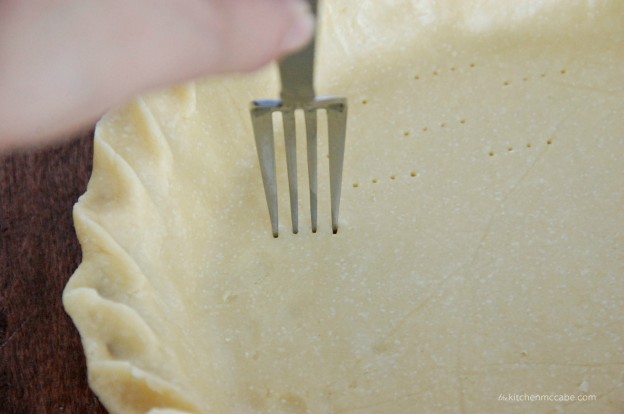
Poke holes all over the sides and bottom of the crust with a fork.
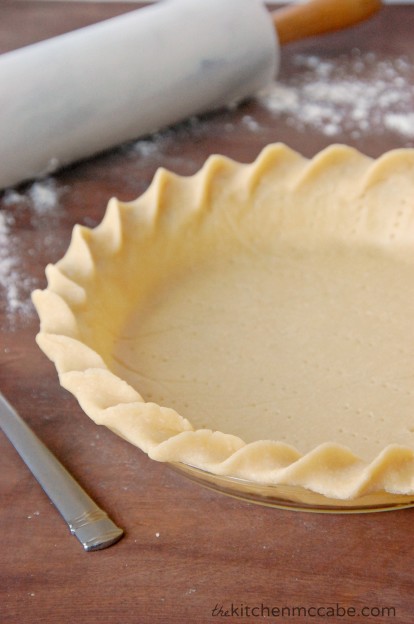
And there you have it.
a Simple Ripple Edged Pie Crust
- 1½ C. Flour
- 1 t. Sugar
- ½ t. Salt
- ⅛ t. Baking Powder
- 5½ T. Shortening, chilled
- 4½ T. Butter or butter spread, chilled(I actually prefer the butter spread because it makes the crust even flakier)
- 1 Egg Yolk
- 2 t. White Vinegar
- ½ C. Cold Water
- 2-3 Ice Cubes
- FOR EGG WASH
- 1 egg
- 2 T. Milk
- Place the flour, sugar, salt, and baking powder in the bowl of a food processor. Place the lid on and pulse the mixture a few times to blend.
- Add the butter and shortening to the crust, 1 T. at a time, pulsing a few times with each addition(don't run the processor consistently). When the butter and shortening are added, pulse a few times more, or until the butter is cut down to pea sized pieces.
- Mix together the cold water, vinegar, egg yolk, and ice cubes. Let chill for a minute or two. Add 3-4 T. of the mixture to the dough 1 T. at a time, pulsing a few times after each addition until the dough comes together, but is not too wet. Chill immediately while you prepare to roll out the dough. Dough should be cold and firm before going into the oven.
- Use and bake according to the specific recipe you are using.
- *Makes 2 single crusts or 1 double crust pie
- TO BAKE A PIE SHELL: If you haven't already, brush the pastry around the edges with an egg wash(1 egg and 2 T. milk beaten together).
- Place a sheet of tin foil over a chilled pie crust and gently pat it down to fit around the inside.
- Fill the pie shell with dry beans to weigh it down.
- Bake at 400 degrees for 15-20 minutes.
- Remove the pie from the oven and take out the tin foil and beans. Reduce the oven heat to 375 degrees.
- Place the shell back in the oven and bake for an additional 7-10 minutes, or until the shell is golden brown and the center of the shell is crisp.
- Shell can be filled when cool.

There are so many advertisements on this link that I couldn’t see the pictures and literally couldn’t leave this comment without scrolling down over and over in between trying to type words. Every time an ad changes it scrolls to the ad and/or covers the pictures.
So sad.